Torque Wrenches for Carbon Cockpits: Exact Nm Values, Zero Creaks, No Cracked Bars
Carbon fiber is an extraordinary material — feather-light, incredibly stiff, and brutally unforgiving if you tighten its hardware wrong. Unlike steel or aluminum, which bend and warn you when something is wrong, carbon can crack internally without any visible sign until the bar or stem fails on a descent. That’s why torque — the rotational force you apply to a bolt, measured in Newton-meters (Nm) — matters so much on a carbon cockpit. Too little torque and your stem faceplate slips mid-ride. Too much and you’re stressing carbon fibers right at the bolt holes, creating micro-fractures that compound over weeks. A proper torque wrench — a hand tool calibrated to “click” or signal when you’ve reached a precise tightening value — removes the guesswork entirely.
This guide covers the exact Nm values you need for common carbon bar and stem bolts, how to choose the right torque wrench for the job, and the honest tradeoffs between the main tool tiers. If you’re running a carbon bar, a carbon stem, or both, this is the spec-sheet and decision framework you need before you touch another bolt.
Why Carbon Cockpit Bolts Demand Precision (and Why “Firm” Isn’t a Spec)
Experienced mechanics develop a feel for aluminum hardware — a stem bolt on a steel or aluminum bar has a wide tolerance range, and a confident snug is close enough. Carbon changes that math entirely.
The typical carbon handlebar faceplate bolt is torqued to 4–6 Nm — a value so small it barely registers as “tight” to a bare hand. Shimano’s Dura-Ace Di2 R9200 shifter clamp spec, documented in Shimano’s official dealer manual (available via si.shimano.com), sits at just 2 Nm for the bolt that fixes the hood clamp. That’s closer to “snug” than “tight” in everyday language, but it’s a precise number with no room for improvisation. Over-tighten by just 2–3 Nm and you’re in the danger zone for CFRP (carbon-fiber-reinforced polymer) fracture propagation — a term that means “hidden cracking that gets worse.”
BikeRadar’s carbon cockpit guide notes a consistent pattern across industry data: the majority of cracked carbon bars in workshop returns show damage at the faceplate bolt holes, almost always from over-torquing rather than impact. The Park Tool Company’s torque concepts documentation explains this directly — carbon is strong in tension but comparatively vulnerable to compression stress concentration at bolt interfaces.
The practical takeaway: “by feel” is a liability on carbon. A torque wrench isn’t optional equipment; it’s the spec-compliance tool the component manufacturer assumed you’d use.
The Exact Numbers: A Carbon Cockpit Torque Reference
These values are drawn from published manufacturer documentation and are representative starting points. Always verify against the spec label on your specific bar, stem, or component — it supersedes any general figure.
| Location | Typical Torque Range | Notes |
|---|---|---|
| Carbon bar faceplate bolts (4-bolt stem) | 4–6 Nm | Check label on stem; many list 5 Nm |
| Carbon bar faceplate bolts (2-bolt stem) | 6–8 Nm | Higher clamping load per bolt |
| Carbon stem steerer clamp bolts | 5–7 Nm | Per SRAM Red AXS install guide |
| Shimano Di2 shifter clamp (R9200) | 2 Nm | Per si.shimano.com dealer manual |
| SRAM AXS hood clamp bolt | 1–2 Nm | Per SRAM technical documentation |
| Carbon seatpost collar | 5–8 Nm | Varies significantly by frame |
By the numbers: A well-set carbon cockpit may involve bolts ranging from 1 Nm to 8 Nm — a span that a single beam-type torque wrench may not cover. This is why many precision-focused mechanics own two tools: a 1–6 Nm micro torque wrench and a 4–25 Nm mid-range unit.
The SRAM technical support documentation for Red AXS components reinforces a point VeloNews has flagged in workshop tool coverage: the low-end specs (1–2 Nm) are where most torque wrenches lose accuracy. Standard 1/4-inch-drive click wrenches rated “from 2 Nm” are often unreliable at the bottom 15–20% of their range — meaning a wrench rated 2–24 Nm may not give a trustworthy click until 3+ Nm. For those hood clamp bolts, that matters.
Choosing Your Tool: Three Tiers, Clear Tradeoffs
Tier 1: The Entry-Level Click Wrench (~$40–$80)
These are 1/4-inch-drive click-type wrenches — the mechanism clicks audibly when you hit the set torque — covering roughly 2–25 Nm. Brands like Tekton, Venzo, and Topeak offer serviceable options at this price point.
Where they work well: Stem-to-steerer bolts, seatpost collars, accessory mounts. Any bolt in the 5–15 Nm range where you don’t need sub-1 Nm precision.
Where they fall short: The accuracy floor matters. Published specs for most entry-level click wrenches cite ±4–6% accuracy across the rated range, but owners consistently report that accuracy degrades at the low end of the range. If your most sensitive bolt is a 2 Nm Di2 clamp, a wrench that becomes unreliable below 3–4 Nm is a problem.
The honest tradeoff: If your build is aluminum bars with carbon only at the frame/fork interface, Tier 1 is probably sufficient. If you’re running a full carbon cockpit with electronic components, the accuracy floor is a real risk.
Tier 2: The Precision Mid-Range (~$100–$250)
This is the range where most high-investment builds live: 1/4-inch drive wrenches from Wera, Pedro’s, or Park Tool’s TW series. The Park Tool TW-5.2 (rated 2–14 Nm, ±4%) and the Wera 7274 are the most-cited examples in this category across aggregated workshop reviews.
Where they work well: The Wera and Park Tool options are calibrated to a tighter ±4% tolerance across the full rated range — including the lower end — which is materially different from entry-level tools. VeloNews workshop coverage notes that Wera’s beam construction and calibration documentation make them a professional standard in many European bike-fitting studios.
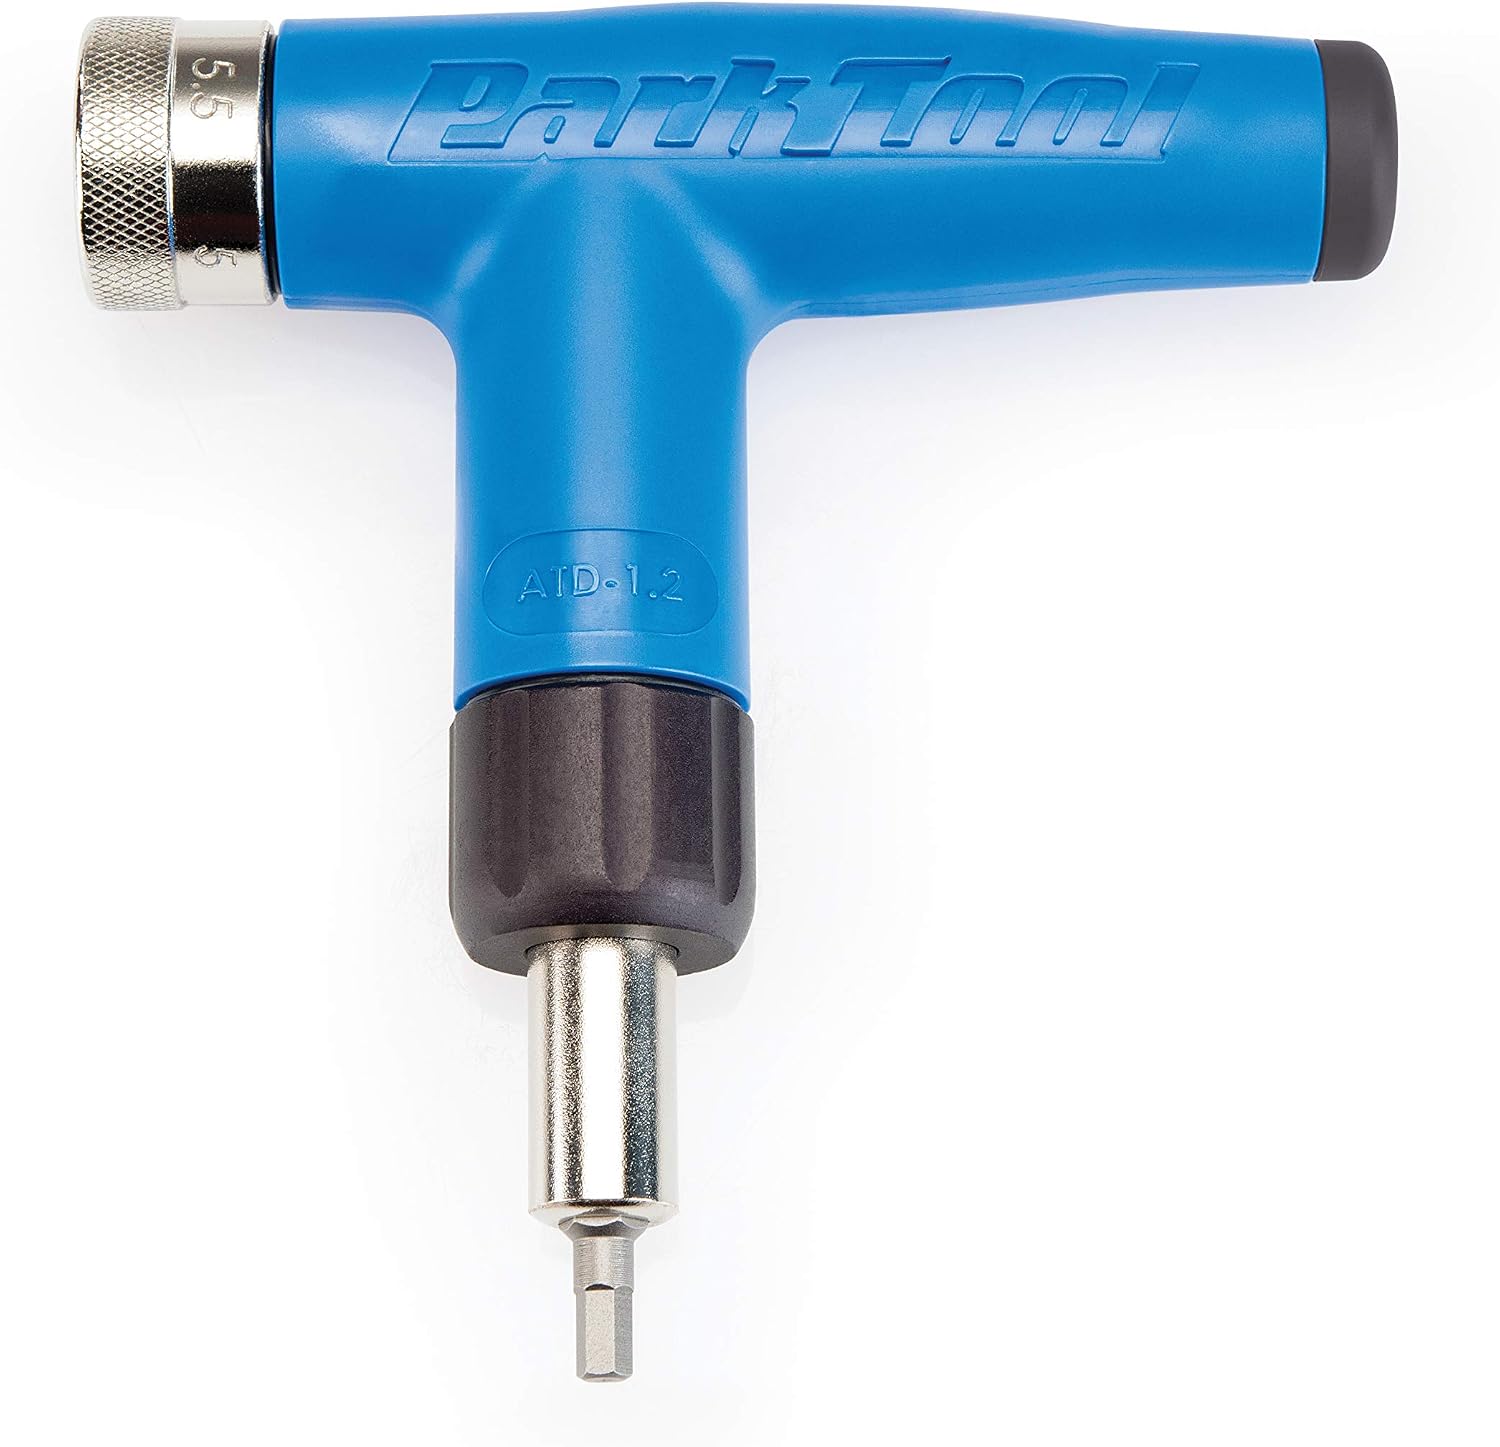
The micro torque wrench argument: Park Tool’s documentation explicitly recommends their separate TW-1.2 (0.5–10 Nm) for low-torque electronic component bolts. This is the “two-wrench” workflow: a micro wrench for 1–5 Nm jobs and a mid-range wrench for 5–15 Nm applications. Owners of Di2 and AXS systems in long-run reviews consistently describe this split as worthwhile once they’ve done a full electronic cockpit build.
Total cost framing: A Park Tool TW-1.2 ($130) plus a TW-5.2 ($90) runs approximately $220 for full cockpit coverage. That’s meaningful but proportional to a $2,000+ groupset investment. If you’re only doing this once, the mid-range single wrench at $150–180 covers 90% of use cases.
Tier 3: The Professional Precision Tier (~$250–$500+)
At this level, the conversation shifts to digital torque wrenches and professional calibrated sets. The CDI (Snap-on brand) mechanical click tools, and digital units from Norbar or Stahlwille, offer ±2% accuracy with calibration certificates — the kind of documentation a small-shop mechanic or coach maintaining multiple high-end bikes can point to as traceability.
Where they justify the spend: Small-shop mechanics charging for precision builds, coaches maintaining team bikes, or builders doing frequent high-end work where liability matters. Across professional workshop forums and coverage from Cyclingnews on professional team mechanics, digital torque wrenches are standard at the WorldTour level specifically because they remove operator ambiguity — the screen shows the applied torque in real time, and some models log peak torque for record-keeping.
The honest cost-of-ownership note: Calibration matters more than initial price. A $400 professional wrench that drifts out of calibration after 18 months of daily shop use is worse than a $150 Wera that you send out for annual calibration ($30–50 per service). Factor recalibration into the real cost.
Installation Sequence: The Details That Prevent Creaks
Getting to the right Nm value is necessary but not sufficient. How you get there matters.
Use carbon assembly paste (friction compound) on carbon-to-carbon interfaces. This isn’t optional. Products like Fiber Grip or Loctite 641 equivalent compounds allow you to achieve clamping security at lower torque values than bare carbon requires — typically reducing required torque by 20–30% depending on the manufacturer’s spec. Many carbon bar manufacturers print two torque values on the label: one for dry installation, one with paste. Use the paste spec when using paste. Mismatching the method to the torque value is how people crack bars at ostensibly “correct” Nm values.
Tighten faceplate bolts in a star/cross pattern, in stages. On a 4-bolt faceplate, don’t run one bolt to full torque before touching the others. Go to 2 Nm across all four, then 4 Nm across all four, then to spec. Park Tool’s published installation guides detail this pattern explicitly — it distributes clamping load evenly and prevents the faceplate from cocking at one corner, which creates stress concentration.
Check the gap. On a stem faceplate, the gap between the faceplate and the stem body should be equal top and bottom after tightening. Unequal gaps mean you’ve over-torqued one side to compensate for a misalignment — and the bar is now sitting off-center under asymmetric load.
Re-check after the first two rides. Carbon compounds slightly as interfaces settle. A post-ride torque check after the first 50km on a new setup is standard practice in professional workshop protocols. BikeRadar’s guide to carbon assembly flags this explicitly: initial installation torque doesn’t guarantee settled torque, particularly at carbon-on-carbon interfaces before the friction compound fully sets.
The Decision Framework: If X, Then Y
Here’s the honest call based on your situation:
-
If you’re running aluminum bars, carbon fiber frame only: A single entry-to-mid range click wrench (4–25 Nm, $50–100) covers your cockpit work adequately. Don’t overspend here.
-
If you’re running carbon bars, aluminum stem, no electronic components: A mid-range 1/4-drive wrench from Wera or Park Tool ($130–180) handles your full torque range accurately. Single tool, done.
-
If you’re running a full carbon cockpit with Di2 or AXS electronics: Budget for the two-wrench split — a micro wrench (0.5–10 Nm) and a mid-range (4–25 Nm). Combined spend of $180–250 from Park Tool or Pedro’s is appropriate and proportional to the component investment.
-
If you’re a small-shop mechanic or coach maintaining multiple high-value builds: The professional digital tier justifies itself within 10–15 builds in reduced liability exposure and consistent, documented results. Price in annual calibration as an operating cost.
The spec on your bar label isn’t a suggestion — it’s the engineer’s calculation for what holds the carbon without damaging it. A torque wrench is the tool that lets you honor that calculation every single time.