If you’ve ever gotten a shop quote for a basic drivetrain service — say, new chain, cassette swap, cable tension, derailleur indexing — and watched the number climb past $80 or $100 for labor alone, you’ve probably had the same thought most home mechanics have: I could just buy the tools. That instinct is often correct. But the next question — whether to buy a pre-bundled “complete” bike tool kit or assemble a collection piece by piece — is less obvious than it looks. A complete kit (the kind that comes in a zipped case with 20-plus tools arranged in foam cutouts) promises convenience and a lower sticker price upfront. Building your own means choosing every tool intentionally, usually at higher per-item cost, but with far less risk of owning six things you’ll never use and one thing that breaks when you need it most.
This article works through that decision honestly, component by component. We’ll anchor the analysis in patterns pulled from aggregated buyer reviews across several popular kits, surface the real failure points, and give you a clear decision framework at the end. Whether you’re maintaining one good bike or three, the right answer depends on what you’re actually trying to fix.
What You Actually Get in a Budget Complete Kit — and What the Reviews Say
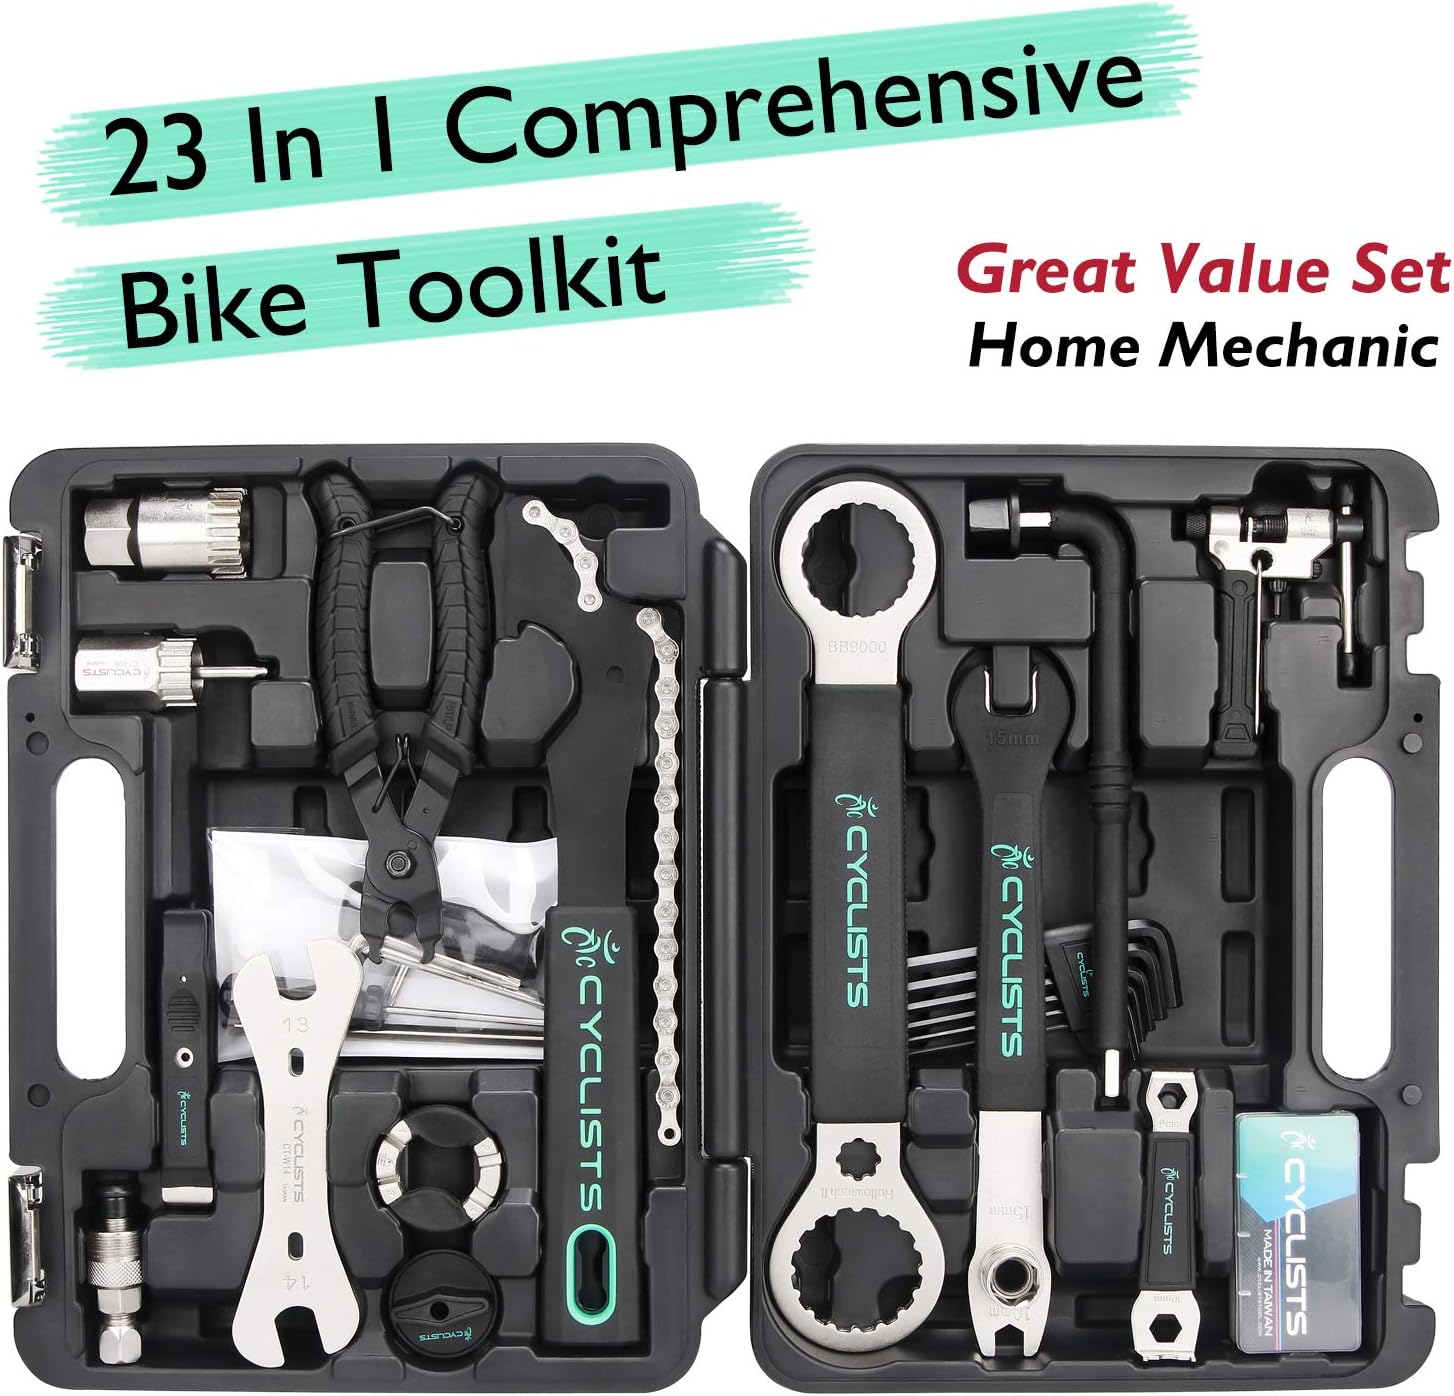
The most-reviewed budget kits in the 23-piece and 41-piece tier share a predictable inventory: hex keys (Allen wrenches, used for most stem, handlebar, seatpost, and brake bolts), a chain breaker (the tool that pushes the chain’s connecting pin out so you can split or size a chain), a chain checker (measures chain wear — a stretched chain eats cassettes), tire levers, spoke wrenches (for wheel truing, adjusting the tension of individual spokes), screwdrivers, and some form of cone wrench or pedal wrench for wheel bearing or pedal service.
On paper, that’s a real toolkit. In practice, the reviews are instructive.
The 23-piece kit draws the most granular user feedback of any budget kit in this category. One owner documented every specific repair they performed using the kit across a multi-month period, confirming the kit delivered on basic maintenance tasks: cable tension adjustments, brake pad swaps, handlebar repositioning, derailleur limit screw tuning. This is the most credible real-world use log in the category, and it matters: it tells you the kit is genuinely functional for light-to-moderate maintenance on a standard drivetrain.
Bike
$15.80
In stock on Amazon
Check price on AmazonThe 41-piece kit is a more complicated story. A four-star reviewer described it plainly as “a low-end introductory product to educate the beginner” and recommended pairing it with video tutorials to learn proper technique — honest framing that’s more useful than either dismissing the kit or overselling it. But there’s also a specific complaint pattern that can’t be buried: multiple reviewers report the pedal wrench bending under normal use. Pedal removal requires significant torque — pedals are threaded tightly and often corroded — and a wrench that deforms under that load isn’t a minor quality issue. It’s a safety and functionality failure at the moment you need it most.
Professional
$15.99
In stock on Amazon
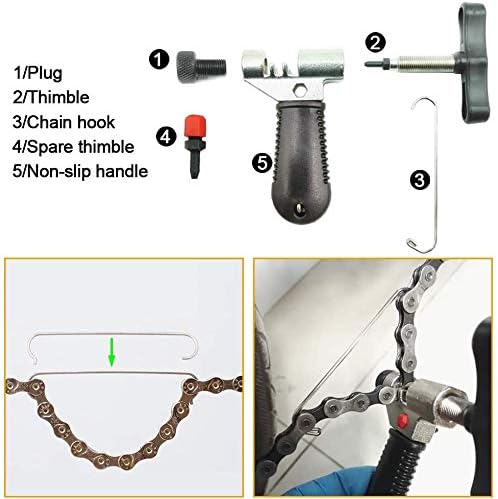
Check price on AmazonThe combo chain pin tool has a pointed one-star complaint pattern about the chain pin tool breaking on first use. The reviewer language is unambiguous: the tool is described as failing immediately. Again, this isn’t an outlier — chain breakers in budget kits are consistently the most failure-prone specialized tool in the set, because breaking and reconnecting a chain requires precise alignment force, and low-tolerance tools either slip or fracture.
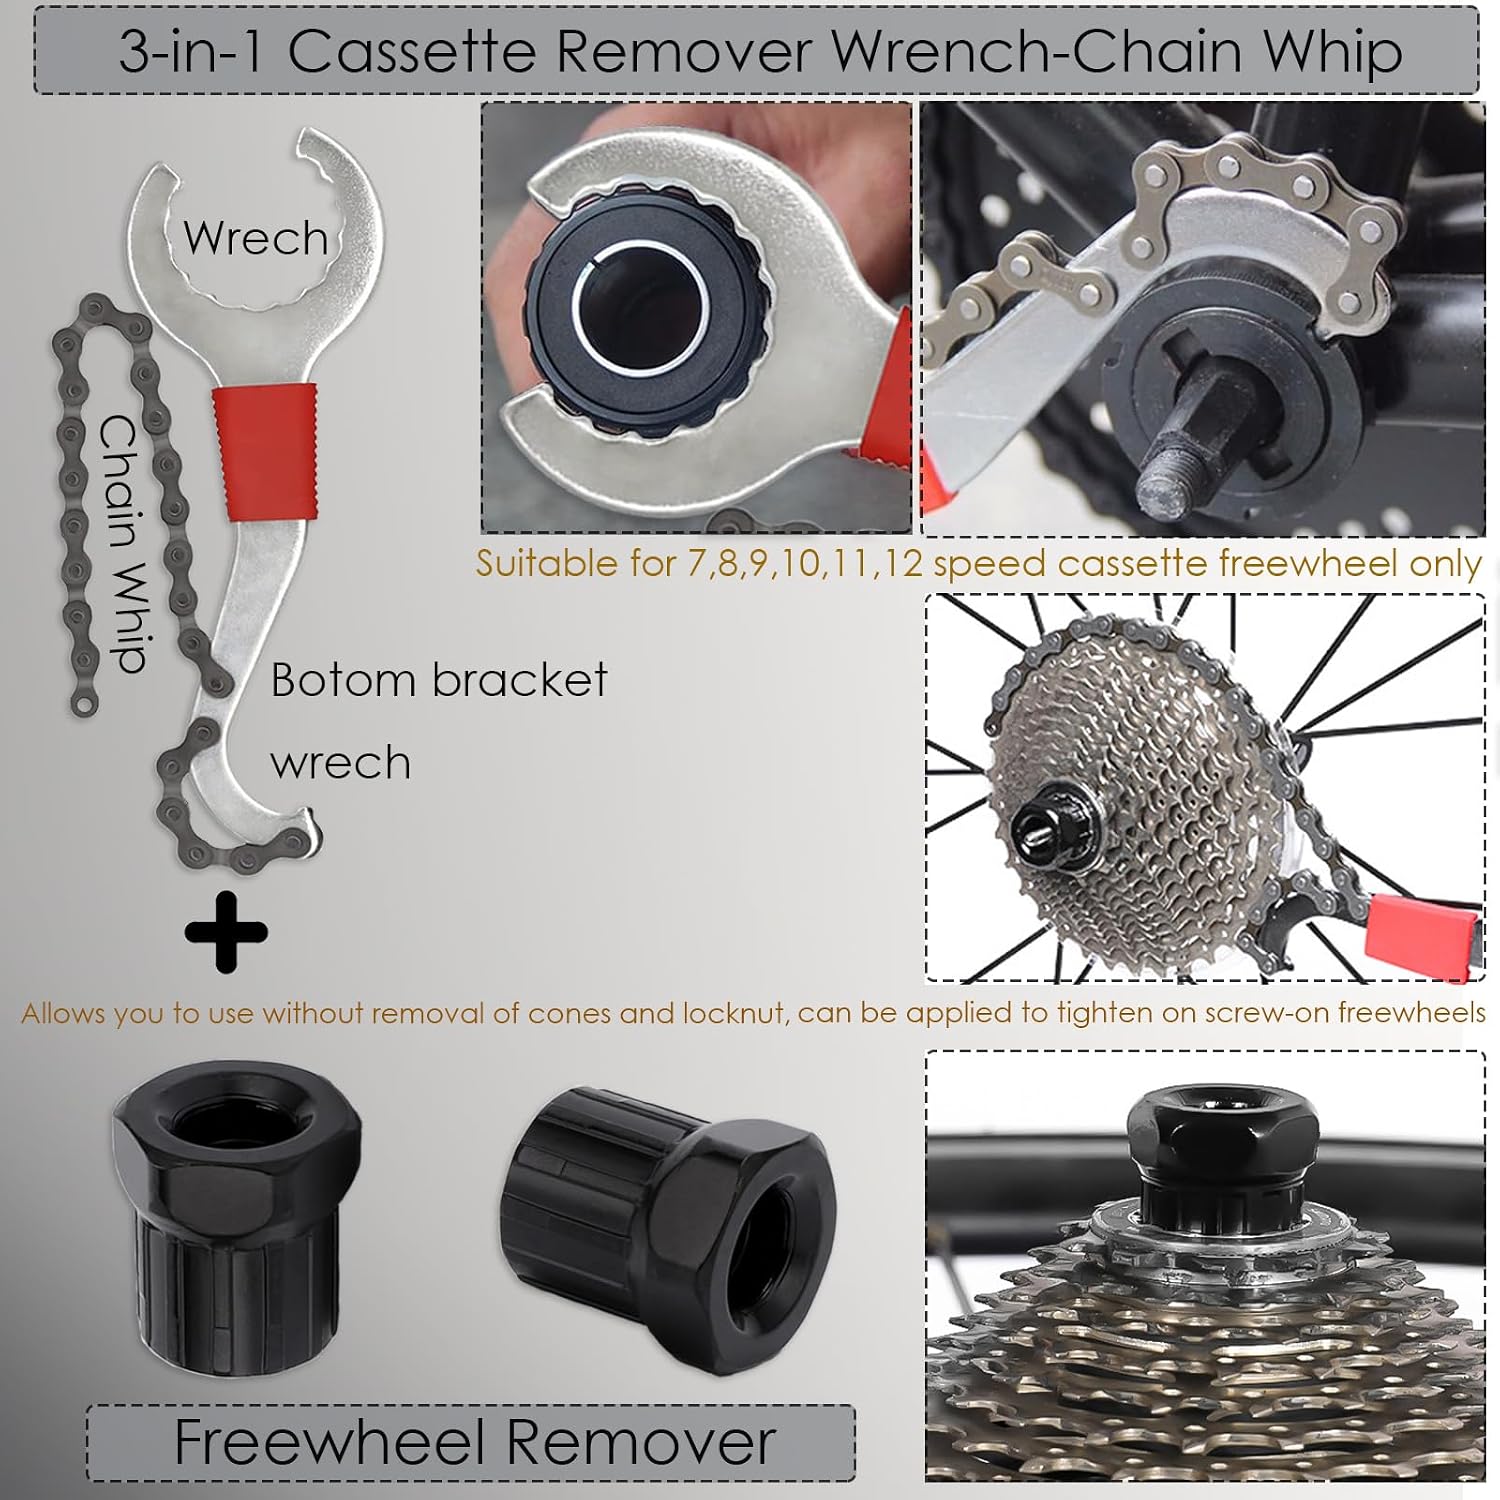
The professional-grade 8-piece kit in this tier carries a roughly four-star average and a specific complaint about the chain whip handle breaking on the second use. A chain whip is used to hold a cassette steady while you unthread the lockring — it’s a high-torque application that punishes cheap handles quickly. Two uses before failure is a pattern, not bad luck.
23
$74.78
In stock on Amazon
Check price on AmazonThe overall picture: budget kits deliver on hex keys, tire levers, spoke wrenches, and basic screwdrivers. They consistently underdeliver — sometimes dangerously — on high-torque specialized tools: pedal wrenches, chain breakers, chain whips.
The Cost-of-Shop-Labor Argument (and Why It Holds Up)
Multiple reviewers across kit categories cite a specific trigger for their purchase: a shop labor quote that felt either outrageous or simply inconvenient. Quotes in the $75–$150 range for a basic tune-up or drivetrain swap appear repeatedly as the tipping point. That context is worth taking seriously.
Per the VeloNews Home Mechanic Tool Buying Guide, a typical full drivetrain service — chain replacement, cassette swap, cable and housing refresh — runs $80–$160 in labor at most independent shops in 2025–2026, before parts. If you’re doing that service twice a year on one bike, you’re looking at $160–$320 annually in labor alone. A $40 kit pays for itself in the first visit. A $150 curated individual-tool purchase pays for itself by year two.
The math gets more favorable the more bikes you maintain. BikeRadar’s Budget Home Workshop Tools Guide notes that even a modest personal fleet of two or three bikes makes tool investment nearly always cost-positive within 18 months.
By the numbers:
- Average shop labor for a full drivetrain service: $80–$160 (parts additional)
- 23-piece budget kit typical retail: $35–$55
- Curated individual-tool starter set (quality hex keys + chain tool + chain checker + chain whip + cassette lockring tool): $90–$160
- Break-even vs. one shop visit: Kit in visit 1; individual tools by visit 2
The total cost of ownership argument for DIY is strong. The question is which DIY path — kit or build-your-own — actually delivers.
Component-by-Component: Kit vs. Individual Purchase
Here’s the honest breakdown by tool category:
Hex Keys and Low-Torque Fasteners
This is where budget kits deliver real value. A set of L-shaped hex keys covering 2mm–10mm handles the vast majority of modern component fasteners. Kit-included hex keys are generally adequate for the torque levels involved in stem bolts, clamp bolts, and brake mounts. If you’re working on components with published torque specs above 10 Nm — carbon cockpits, for instance — upgrade to a quality torque wrench regardless of how you sourced the hex keys. Park Tool’s Torque Specification Reference, available on parktool.com, lists current fastener specs for most modern components and is worth consulting before any first-time adjustment.
Tire levers, spoke wrenches, and screwdrivers that come with budget kits are also generally fine. These are low-force applications where material grade matters less. Kit-included spoke wrenches may not cover every nipple size on exotic wheels, but for standard build maintenance, they’re adequate.
Chain Breaker and Chain Pin Tools
Buy this separately. Every kit category shows chain tool failures as a primary complaint. Sheldon Brown’s technical documentation on chain repair — published at sheldonbrown.com — emphasizes that precision alignment is non-negotiable for a clean chain break and reconnect. A tool that flexes or slips damages the chain plate, leaving you with a weak link under load. A standalone mid-tier chain breaker from an established manufacturer runs $25–$35 and lasts indefinitely. Sheldon Brown’s chain repair documentation also notes that reusing the original pin when reconnecting a modern 9-, 10-, 11-, or 12-speed chain is not recommended — the pin deforms slightly on first press-through and won’t seat securely a second time. Name-brand master links (SRAM PowerLinks, Shimano Quick-Links, or KMC Missing Links) are the more reliable closure method and cost less than $5 per link.
Pedal Wrenches and High-Torque Hand Tools
Do not rely on a kit-included pedal wrench for stuck or corroded pedals. The bending complaints documented across multiple kit reviews are consistent with the physics: a 15mm wrench with a short handle under 30–40 Nm of torque is asking for deformation. A standalone 15mm pedal wrench with a long handle from an established tool brand runs $20–$35 and is a worthwhile standalone purchase even if you already own a kit. This is the second tool to replace after the chain breaker.
Chain Whips and Cassette Lockring Tools
Another high-torque application where kit quality varies badly. Handle-failure complaints on chain whips — the pattern seen across the professional-grade kits in this tier — are the predictable result of using a stamped-steel handle at cassette lockring torque levels. If you’re planning any cassette work, source a chain whip with a welded or reinforced handle separately. The cassette lockring tool itself is lower risk (it’s typically a socket-style tool used with a large adjustable wrench), but it’s worth confirming it fits your specific lockring standard before you’re mid-service. Shimano’s technical documentation, available via si.shimano.com, lists lockring tool compatibility by groupset generation.
The Decision Frame: Kit or Build-Your-Own?
The four-star framing — “a low-end introductory product to educate the beginner” — is actually a useful decision rule if you translate it properly. It’s not an insult; it’s a use-case description.
If you’re doing your first brake adjustment, cable tension, or handlebar swap and you want to learn the workflow without committing $200 upfront — a 23-piece or 41-piece kit is a reasonable starting point. Pair it with written repair documentation, treat the high-torque tools as temporary placeholders, and plan to replace the chain breaker and pedal wrench within six months.
If you’re planning a full drivetrain service — chain, cassette, cables — on a bike worth more than $800 — build your own. A chain breaker failure or chain whip handle snap during cassette work can damage a $60 cassette or leave you stranded mid-repair. The $40 you save on a kit disappears fast if you’re re-buying components or calling the shop anyway.
If you maintain two or more bikes, including any with carbon components or electronic shifting — skip the kit entirely and invest in individual quality tools from the start, plus a quality torque wrench. The Park Tool Torque Specification Reference covers most modern components; working without a torque wrench on carbon is genuinely risky, and no budget kit in this category includes one.
If you’ve already bought a kit and it’s working for you on basic tasks — the upgrade path is clear: replace the chain breaker first, then the pedal wrench, then the chain whip. Everything else can wait until a tool actually fails in use.
Frequently Asked Questions
Is a 23-piece or 41-piece kit actually enough to do a full drivetrain service at home? Partially. The hex keys, chain checker, and tire levers will carry you. But a full drivetrain service requires a functional chain breaker, chain whip, and cassette lockring tool — the three tools most likely to be the weakest links in a budget kit. If the kit versions hold up, yes. If not (and reviews suggest they often don’t), you’ll be mid-service with a broken tool.
Which tools in a budget kit are most likely to fail first? Chain breakers, pedal wrenches, and chain whips — consistently, across multiple kit categories and reviewer accounts. These are the high-torque applications where material grade and manufacturing tolerance matter most.
Do any of these kits include a torque wrench, and do I actually need one? No budget kit in this category includes a torque wrench. Whether you need one depends on your bike: for aluminum components with no carbon parts, you can work by feel on most bolts. For carbon frames, carbon bars, carbon seatposts, or any component with a published torque spec below 5 Nm, a torque wrench is not optional — it’s how you avoid cracking expensive parts. According to the Park Tool Torque Specification Reference, many carbon cockpit clamps spec at 4–6 Nm, a range where it’s easy to overtighten by hand.
What is the single most important individual tool to buy separately even if I get a kit? A quality chain breaker. It’s the tool most likely to fail in a kit, most likely to damage your drivetrain if it does fail, and most affordable to replace as a standalone — reliable mid-tier options run $25–$35.
Can I use kit-included chain breaker pins safely, or should I buy name-brand pins? As noted in Sheldon Brown’s chain repair documentation at sheldonbrown.com, reusing a pressed-out pin on modern multi-speed drivetrains is not recommended. Kit-included replacement pins are generally acceptable for a single installation, but name-brand master links are the more reliable closure method and the better habit to develop from the start.
The shop labor argument for going DIY is real, and the math supports it quickly. The honest caveat is that a budget kit is a starting point, not a finish line — and knowing which tools to replace first is what separates a frustrating experience from a functioning home workshop.