A crank puller is the tool you thread into the end of a bicycle’s crank arm — the lever-like piece your pedal attaches to — to press the crank off the axle that drives your wheel. It sounds simple, and the tool itself is inexpensive enough that most riders grab whatever ships first. The problem is that the threads inside a crank arm are relatively soft aluminum, and if the puller’s own threads are slightly out of spec, slightly crooked, or simply cheap, they don’t grip cleanly. Instead, they shear. The aluminum strips. And you’re left with a crank you can’t remove and, often, a crank you can no longer reinstall safely — meaning a replacement crankset, not a replacement tool. Owner accounts across cycling forums describe exactly this scenario: a budget puller strips the internal threads of a mid-range crankset, leaving aluminum debris throughout and a repair bill that dwarfs the cost of a quality tool. This article is about preventing that outcome by understanding the risk tiers, the tool quality signals, and the decision logic that matches the right puller to your specific situation.
| EDITOR'S PICKLEXIVON Inch Pound Torque Wrenc… | Mid-tierOumers Bike Chain Repair Tools… | Budget pickOumers Bike Crank Extractor and… | |
|---|---|---|---|
| Tool type | Torque wrench | Chain tool | Crank extractor |
| Drive size | 1/4" | — | — |
| Torque range | 20–200 in-lb | — | — |
| Spanner size | — | — | 16mm |
| Master link plier | — | ✓ | — |
| Chain wear checker | — | ✓ | — |
| Price | $37.97 | $14.99 | $10.89 |
| See on Amazon → | See on Amazon → | See on Amazon → |
Why “Cheap But Functional” Is an Incomplete Rating
Most budget crank pullers generate reviews that fall into two camps: “worked fine, no complaints” and “destroyed my crankset.” The gap between those camps isn’t random. It comes down to two overlapping variables — the condition of your crank and the dimensional precision of the tool — and budget tools handle the worst-case intersection of both poorly.
Seized cranks are the stress test budget pullers fail. A crank that comes off a recently serviced bike with a properly greased square-taper interface (the four-sided tapered axle found on most traditional cranksets) needs only moderate force. A crank that’s been in place for five or ten seasons, through wet winters and salt spray, has often cold-welded to the axle. BikeRadar’s workshop guide on crank removal explicitly flags this scenario: high extraction force requirements are when thread engagement quality matters most. The force a seized crank demands transfers entirely through the puller’s threaded interface with the crank arm. If those threads are slightly undersized, angled, or have rough machining burrs, they rock under load and strip before the crank breaks free.
Dimensional inconsistency is a documented pattern, not a one-off. A consistent complaint among owners of lower-cost crank pullers is receiving units that are visibly crooked — the central drive bolt doesn’t sit perpendicular to the threaded collar. Replacement units often resolve the issue, which tells you this is a quality-control distribution problem, not a design failure. But a crooked tool threading into a precision aluminum bore doesn’t bind at the crooked angle; it starts threading, then cams sideways under load. That’s a thread-stripping scenario even on a non-seized crank.
None of this means every budget puller is dangerous. The pattern is clear across accumulated owner experience: on a lightly ridden bike, a non-seized square-taper crank, and a healthy-looking threaded bore, budget pullers often do work. The question is whether you’re willing to make that bet on a crankset worth several hundred dollars.
The Risk-Tiering Framework: Match Tool to Stake
Here’s a practical decision matrix based on published-spec comparisons, manufacturer guidance from Park Tool’s crank removal documentation (parktool.com, “Crank Arm Removal and Installation”), and aggregated owner reports:
| Crankset Value | Seizure Risk | Recommended Tool Tier |
|---|---|---|
| Under $80 replacement cost | Low (recent service, greased) | Budget puller acceptable |
| Under $80 | High (5+ years, no service records) | Mid-range preferred |
| $80–$300 | Any | Mid-range minimum |
| $300+ (Dura-Ace, Campagnolo, etc.) | Any | Professional-grade required |
By the numbers:
- Budget crank pullers: typically $8–$18
- Mid-range pullers (Bikehand, VAR, Unior): $25–$55
- Professional-grade (Park Tool CCP-4 class): $30–$45 — often only marginally more than budget options
The math here is stark. The spread between a budget puller and a professional-grade Park Tool unit is often $20–$30. The spread between a working crankset and a stripped one is $200–$600 on mid-range components, and considerably more on Campagnolo Super Record or Dura-Ace 9200. As Sheldon Brown notes in his crank removal guide at sheldonbrown.com: the cost of proper tools is trivial compared to the cost of the components they service.
Budget Pullers
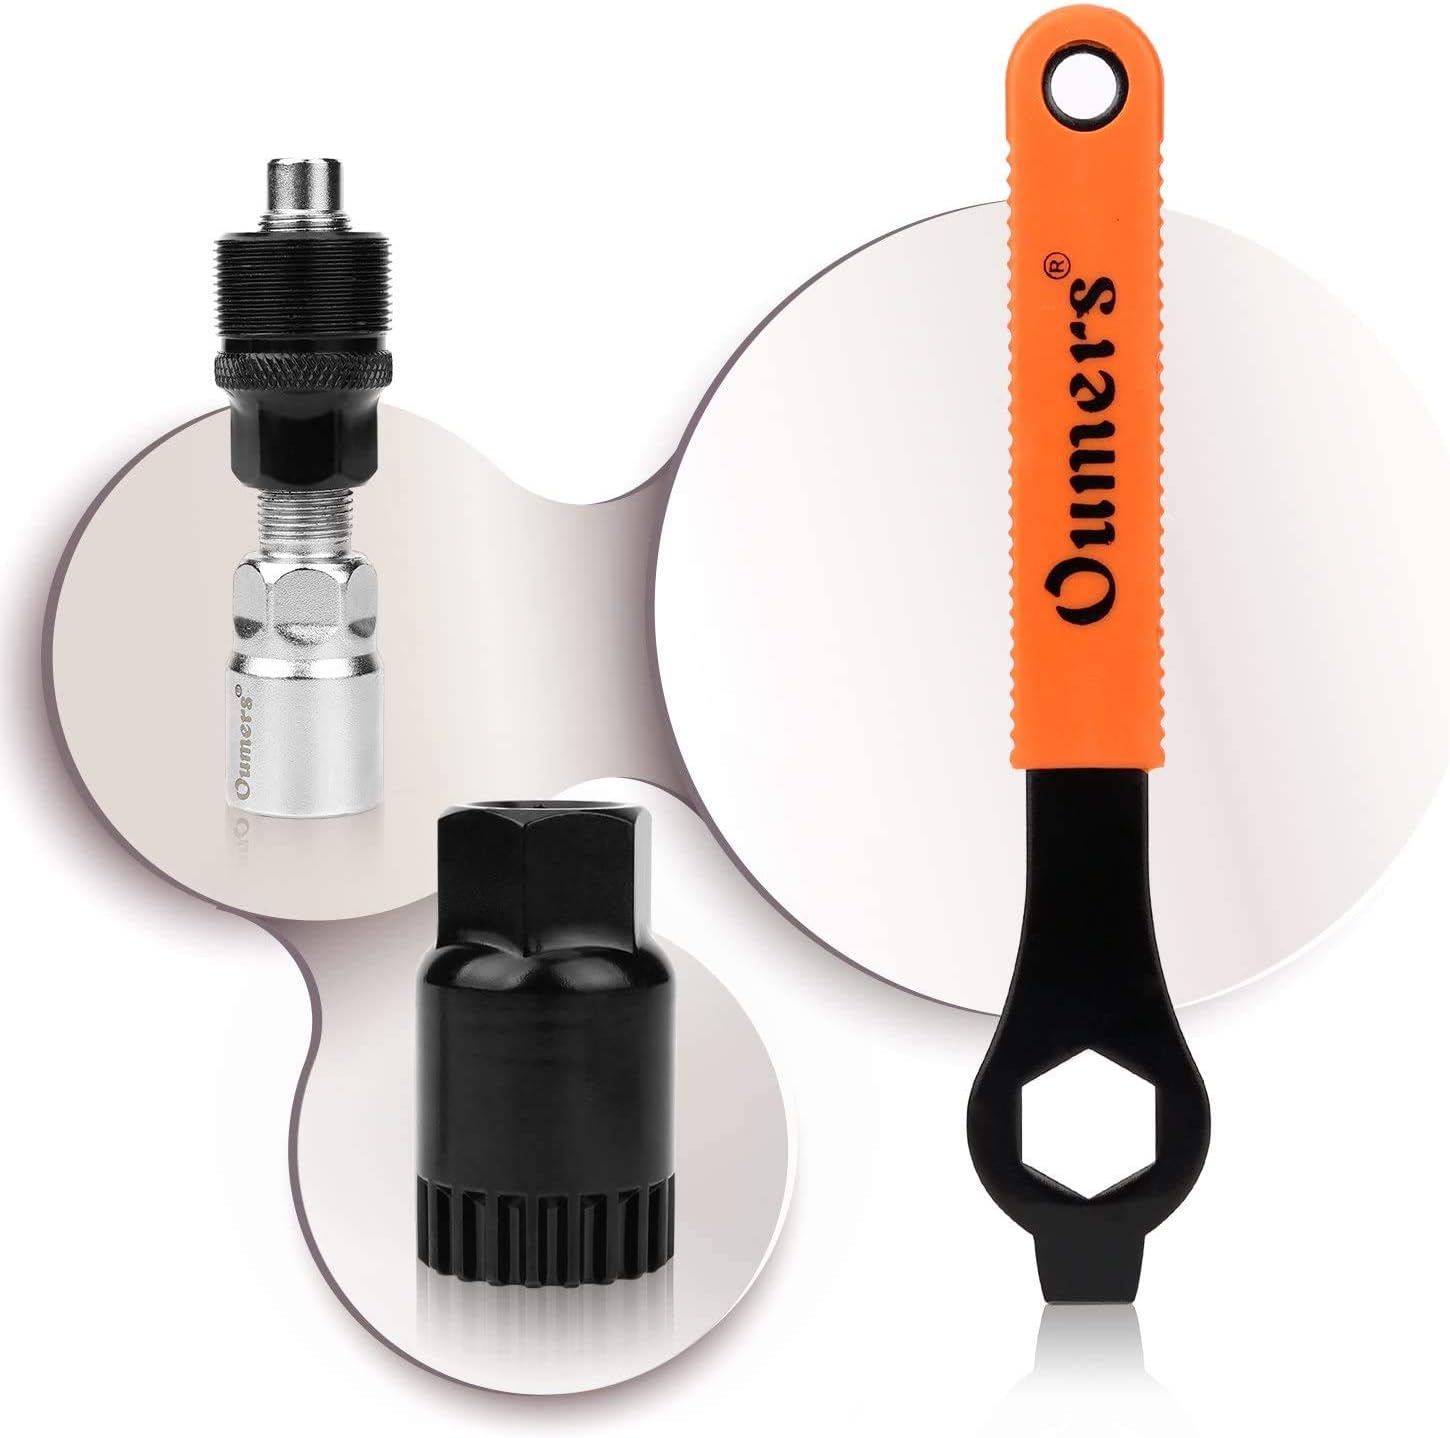
For low-stakes square-taper work — a well-maintained entry-level crankset with a clean bore and no seizure history — a budget puller in the $8–$18 range can complete the job. The key constraint is that you must visually inspect the tool before threading it in. Feel for smooth thread engagement by hand first. If the drive bolt sits visibly off-center relative to the collar, return the tool and try again; that unit has a quality-control defect that will transfer risk to the crank arm under load.
Oumers
$10.89
In stock on Amazon
Check price on AmazonMid-Range Pullers
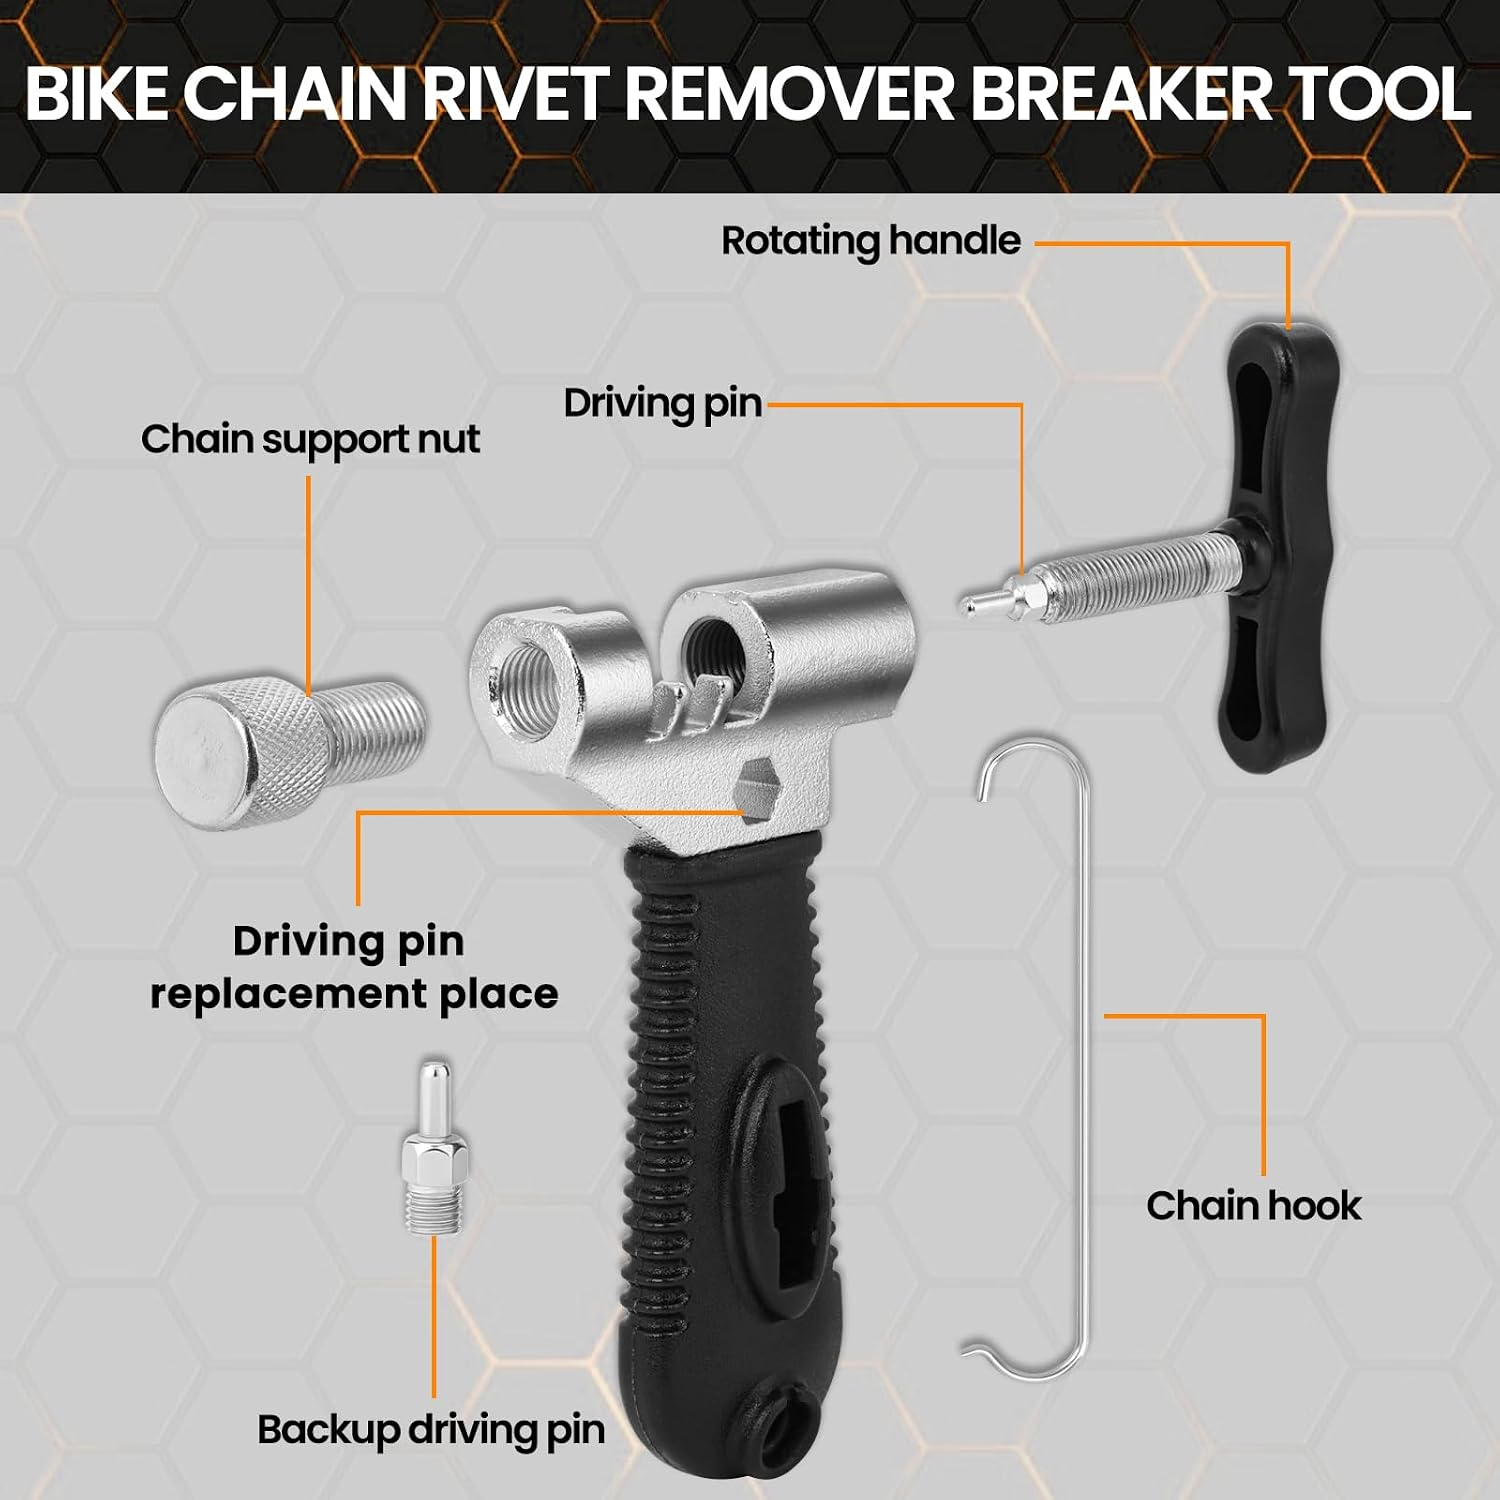
Brands such as Bikehand, VAR, and Unior occupy the $25–$55 range and represent a meaningful step up in thread machining consistency and steel hardness. Owner reports across multiple rebuild threads consistently describe mid-range pullers as producing cleaner thread engagement — the tool starts smoothly and stays aligned through the pull. For any crankset valued between $80 and $300, or for any square-taper crank of unknown service history, this is the minimum appropriate tool tier.
Oumers
$14.99
In stock on Amazon
Check price on AmazonProfessional-Grade Pullers
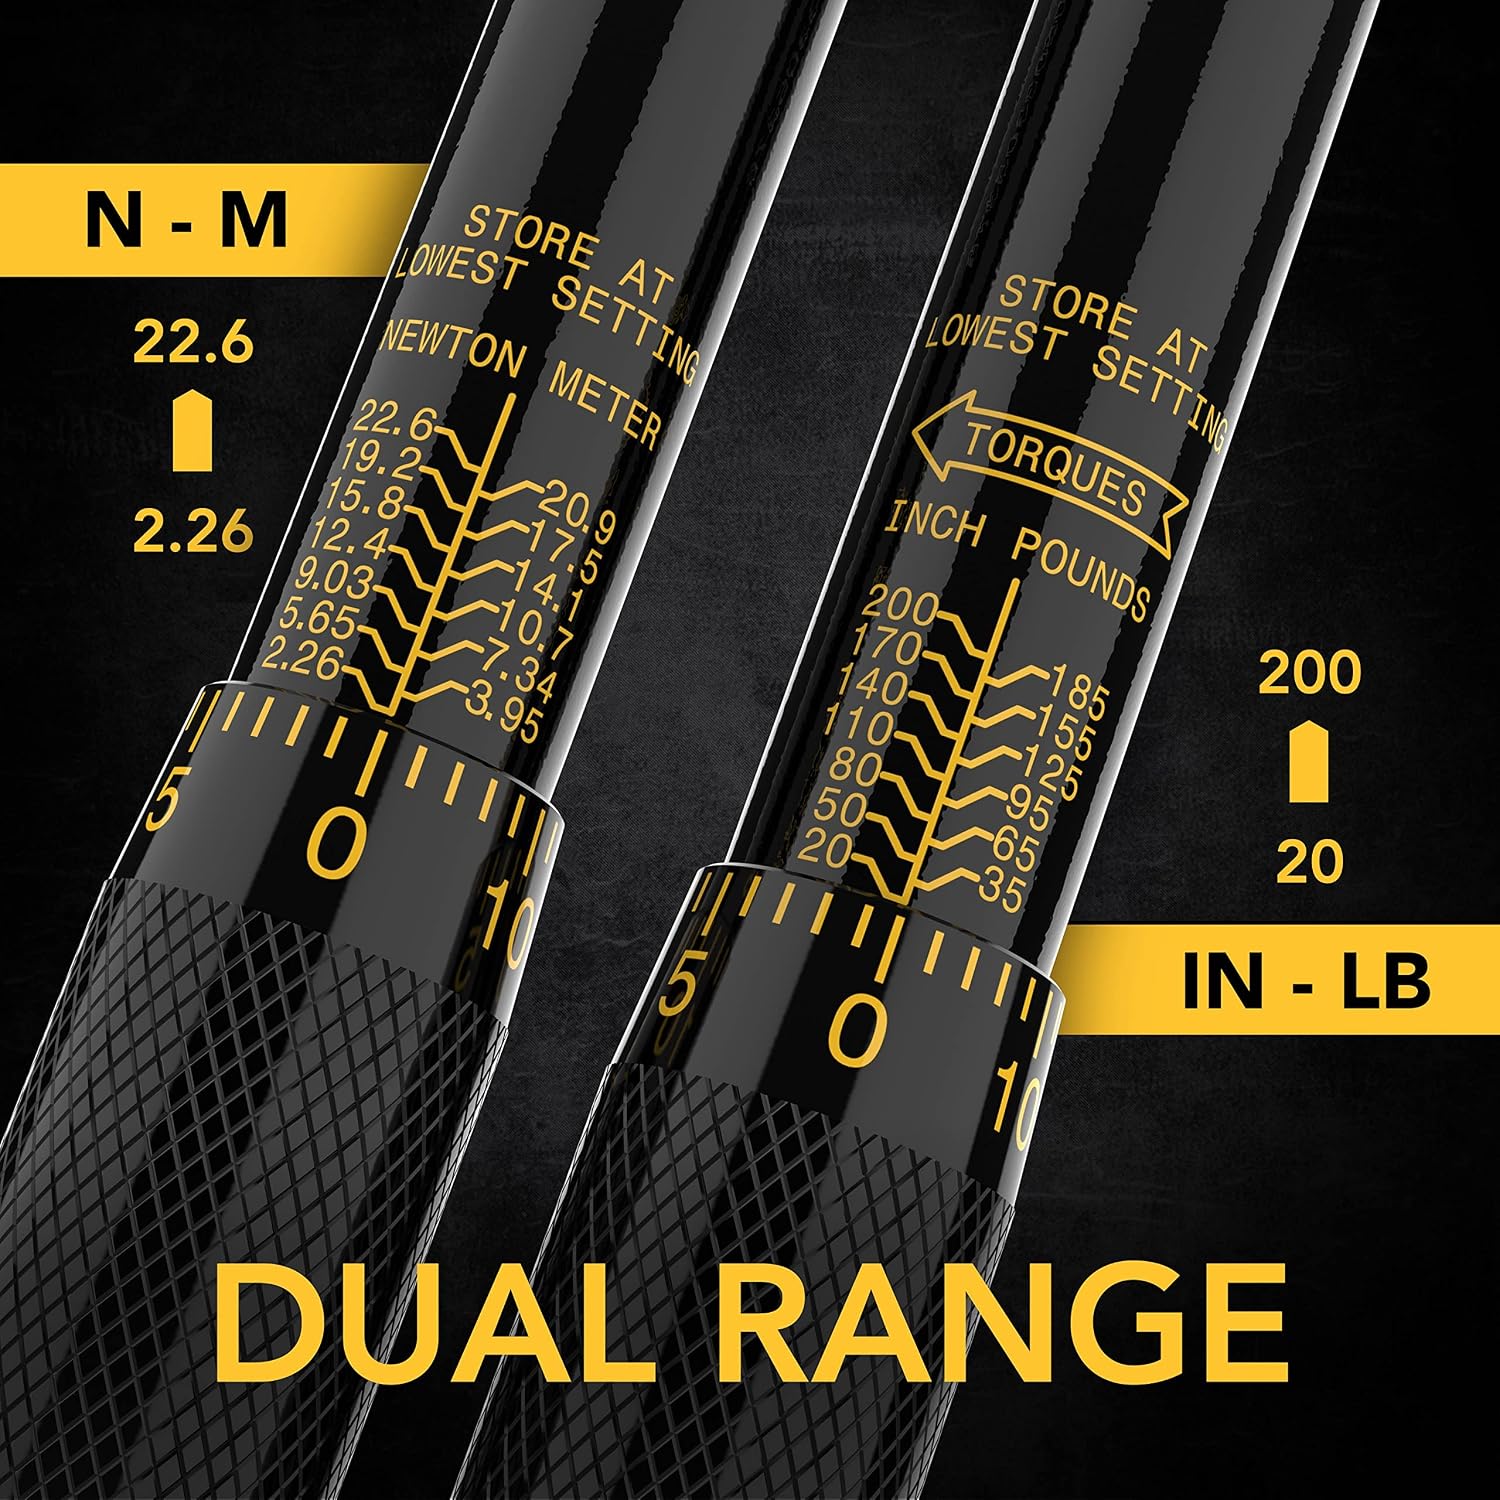
Park Tool’s published documentation on its CCP-4 and related pullers describes tighter thread tolerances achieved through cut rather than rolled threads, hardened steel that resists deformation under high extraction loads, and a longer threaded engagement length that distributes force across more thread contact area. Owners consistently report that Park Tool pullers feel different at thread engagement — they start smoothly without the slight resistance that signals a dimensional mismatch. For cranksets valued above $300 — Dura-Ace, Campagnolo Record and above, high-end SRAM road groups — a professional-grade puller is not optional. The $20–$30 premium over a budget tool is the cheapest insurance available.
LEXIVON LX-181
$37.97
In stock on Amazon
Check price on AmazonISIS, Square Taper, and Hollowtech II: Getting the Interface Right
This is where a lot of intermediate mechanics make their second costly mistake — assuming all crank pullers are interchangeable. They aren’t.
Square taper is the traditional four-sided tapered interface used on most older and entry-level cranksets. It’s the most common, and the interface almost all basic crank pullers are designed for. The puller threads into the crank arm’s extraction port and presses against the end of the axle to drive the crank off the taper. Thread specification is typically 22mm x 1mm; verify this against your crank arm before selecting a tool.
ISIS Drive (International Splined Interface Standard) uses a splined interface with a different — wider and deeper — extraction port geometry. A square-taper puller will physically thread in, but it won’t seat correctly against the axle face, and it will strip the extraction port threads at much lower torque values. Per Park Tool’s published documentation on crank arm removal (parktool.com, “Crank Arm Removal and Installation”), ISIS cranks require a puller with an 8mm drive pin to properly engage the axle face, versus the flat contact face used on square taper. Getting this wrong is a silent failure: the tool seems to be working until it isn’t.
Shimano Hollowtech II — used on virtually every current Shimano groupset from Deore upward, including Ultegra and Dura-Ace — does not use a traditional crank puller at all. Shimano’s official service documentation (si.shimano.com, “Hollowtech II Bottom Bracket and Crankset Service Manual”) specifies a pinch-bolt and preload cap removal sequence; the non-drive crank arm slides off the two-piece axle after the pinch bolts are loosened. Using a conventional threaded crank puller on a Hollowtech II crank arm will damage the arm. BikeRadar’s crank removal workshop guide is explicit on this point. If you’re working on any modern Shimano groupset and reaching for a crank puller, stop and verify your interface first.
SRAM two-piece and DUB systems similarly don’t use threaded extraction. The crank arm is retained by a self-extracting bolt or a pinch system depending on generation — SRAM’s technical documentation (sram.com) covers the specific removal sequence for each groupset generation. Campagnolo Ultra-Torque uses a wave washer and pinch bolt system on their current lineup. Traditional crank pullers are increasingly specific to older or entry-level square-taper and ISIS systems — which are still enormously common in the fleet, but knowing this boundary matters before you pick up any tool.
Practical Pre-Pull Protocol: What to Check Before Committing
If you’re working on a bike where you don’t have full service history, or you’re helping someone else with a machine of unknown age, a five-minute pre-pull assessment can save a crankset.
Check the extraction port threads visually. With the crank arm in place, shine a light into the extraction port. Clean, sharp threads with no rounding or corrosion are a green light. Rounded or corroded threads mean the crank has been pulled before, possibly with a poor tool, and the threads may already be compromised. In this case, a professional-grade tool with maximum thread engagement is non-negotiable, and even then you may be threading into damaged material.
Test for seizure with penetrating oil. If the axle-to-crank interface hasn’t been greased and has years of exposure, apply penetrating oil at the interface gap and wait 20–30 minutes before attempting extraction. A seized crank that breaks free after penetrating oil treatment is a much lower-force pull than one attacked cold. This single step dramatically reduces the stress on both the puller and the crank arm threads.
Thread the puller in by hand and feel for resistance. Before applying a wrench, the puller should thread smoothly into the crank arm extraction port with finger pressure alone. If you feel gritty resistance or the tool cams sideways during threading, stop. That resistance is the tool’s threads binding against the crank’s threads. Continuing with wrench pressure will strip the crank, not the tool — because the crank threads are softer aluminum.
Frequently Asked Questions
How do I know if my crank is seized before I try to pull it, and how does that change my tool choice? A seized crank often shows corrosion staining at the crank-to-axle gap, no grease evidence, and firm resistance even when you try to wiggle the arm laterally. If you see these signs, treat it as a high-force pull and step up to a professional-grade tool regardless of crankset value. The extraction force of a badly seized crank can exceed what budget puller threads can hold.
What happens if a crank puller strips the internal threads — is the crankset salvageable? Sometimes, rarely. A machinist can occasionally thread the bore to a larger size and fabricate an adaptor insert. In practice, the cost of that repair on most cranksets meets or exceeds replacement cost. For high-end cranksets, it’s worth a call to a machine shop before writing it off entirely — but plan for replacement.
Do I need a different crank puller for ISIS splined cranks versus square taper? Yes. ISIS Drive requires a puller with the correct drive pin diameter — 8mm, per Park Tool’s published specification in their crank arm removal documentation — to properly engage the axle face. A square-taper puller will thread in but won’t extract correctly and will damage the extraction port. Verify your bottom bracket standard before selecting a puller.
Can I use a crank puller on Shimano Hollowtech II cranks, or is that a different removal process entirely? Different process entirely. Hollowtech II and similar two-piece systems use pinch bolts and a preload collar — no threaded extraction port exists. Shimano’s official service documentation at si.shimano.com specifies the correct pinch bolt loosening and arm removal sequence. A conventional crank puller will damage the arm.
Is there a way to test a budget crank puller’s thread quality before committing it to an expensive crankset? Thread the puller into an old, sacrificial crank arm first if you have one. If it threads smoothly and the engagement feels solid, that’s a reasonable positive signal. You can also use a thread pitch gauge to verify the puller’s threads match the crank arm spec — typically 22mm x 1mm for square taper. Visually inspecting the puller threads under a loupe for burrs or rough machining marks is another low-tech filter. It won’t catch everything, but a visibly rough tool is a tool to return.
The decision rule is straightforward: if your crankset costs more than $150 to replace, or if you have any reason to believe the crank is seized or previously damaged, a professional-grade puller is not a luxury. It’s the correct tool for the job, and at a $20–$30 premium over budget options, it’s the cheapest insurance in your workshop. If you’re pulling a well-serviced, low-cost square-taper crank and you have the patience to inspect the tool before threading it in, a budget option can work. Know exactly which side of that line you’re standing on before you put a wrench on it.