Your bike’s crankset — the spider-shaped assembly that your pedals thread into and your chain wraps around — is held onto the bottom bracket axle by either a tapered fit, a splined interface, or a pinch bolt, depending on the generation and brand. To remove a crank for service, you usually need a crank puller: a threaded tool that screws into the crank arm and uses mechanical advantage to push the arm off the spindle without hammering or prying. Get this tool wrong — or buy a cheap one that fails mid-pull — and you can strip the crank’s internal threads, rendering a $200–$600 crankset unsalvageable. Get it right, and a crank that won’t budge by hand walks off cleanly in a few turns of a wrench.
This article is aimed at the home mechanic who services their own bike a handful of times a year: enough experience to know what a bottom bracket is, not necessarily enough repetitions to have strong brand loyalties in specialty tools. We’ll compare budget multi-tool kits against single dedicated crank-puller tools, surface the real failure modes from owner-reported experience, and give you a clear decision framework so you’re not guessing at the hardware store.
| EDITOR'S PICKLEXIVON Inch Pound Torque Wrenc… | Mid-tierBike Tool Kit | Budget pickOumers Bike Crank Extractor and… | |
|---|---|---|---|
| Tool type | Torque wrench | Crank puller | Crank puller |
| Drive size | 1/4 in. | — | — |
| Torque range | 20–200 in-lb | — | — |
| Spanner included | ✗ | — | ✓ |
| Cassette tool | — | ✓ | — |
| Chain tool | — | ✓ | — |
| Price | $37.97 | $15.80 | $10.89 |
| See on Amazon → | See on Amazon → | See on Amazon → |
What You’re Actually Comparing: Kit vs. Dedicated Tool
The market splits cleanly into three tiers, and understanding the structural differences between them will save you from a frustrating — and potentially expensive — mistake. Each tier below is evaluated on build quality, functional reliability for occasional home use, and the cost-of-failure math that makes this tool category more consequential than it first appears.
Budget Multi-Tool Kits
Budget multi-tool kits — typically priced in the $20–$50 range — bundle a crank puller with a chain breaker, a cassette lockring tool, a bottom bracket socket or two, and sometimes a freewheel remover. They’re appealing because they address several first-time repair needs in one purchase. The trade-off, as owner reviews consistently surface, is that component quality varies within the same kit. The pattern across aggregated reviews for representative kits in this category is remarkably consistent: the chain breaker is the first component to fail — often within the first few uses — while the crank puller portion performs acceptably for light, occasional work on lower-value bikes.
This matters because it reframes the kit’s value proposition. You are essentially buying a functional crank puller bundled with a chain breaker that may be single-use. If you go in with that expectation, a budget kit is a defensible purchase for low-stakes, infrequent work on a commuter or entry-level bike. If you expect every tool in the box to last for years, you will be disappointed.
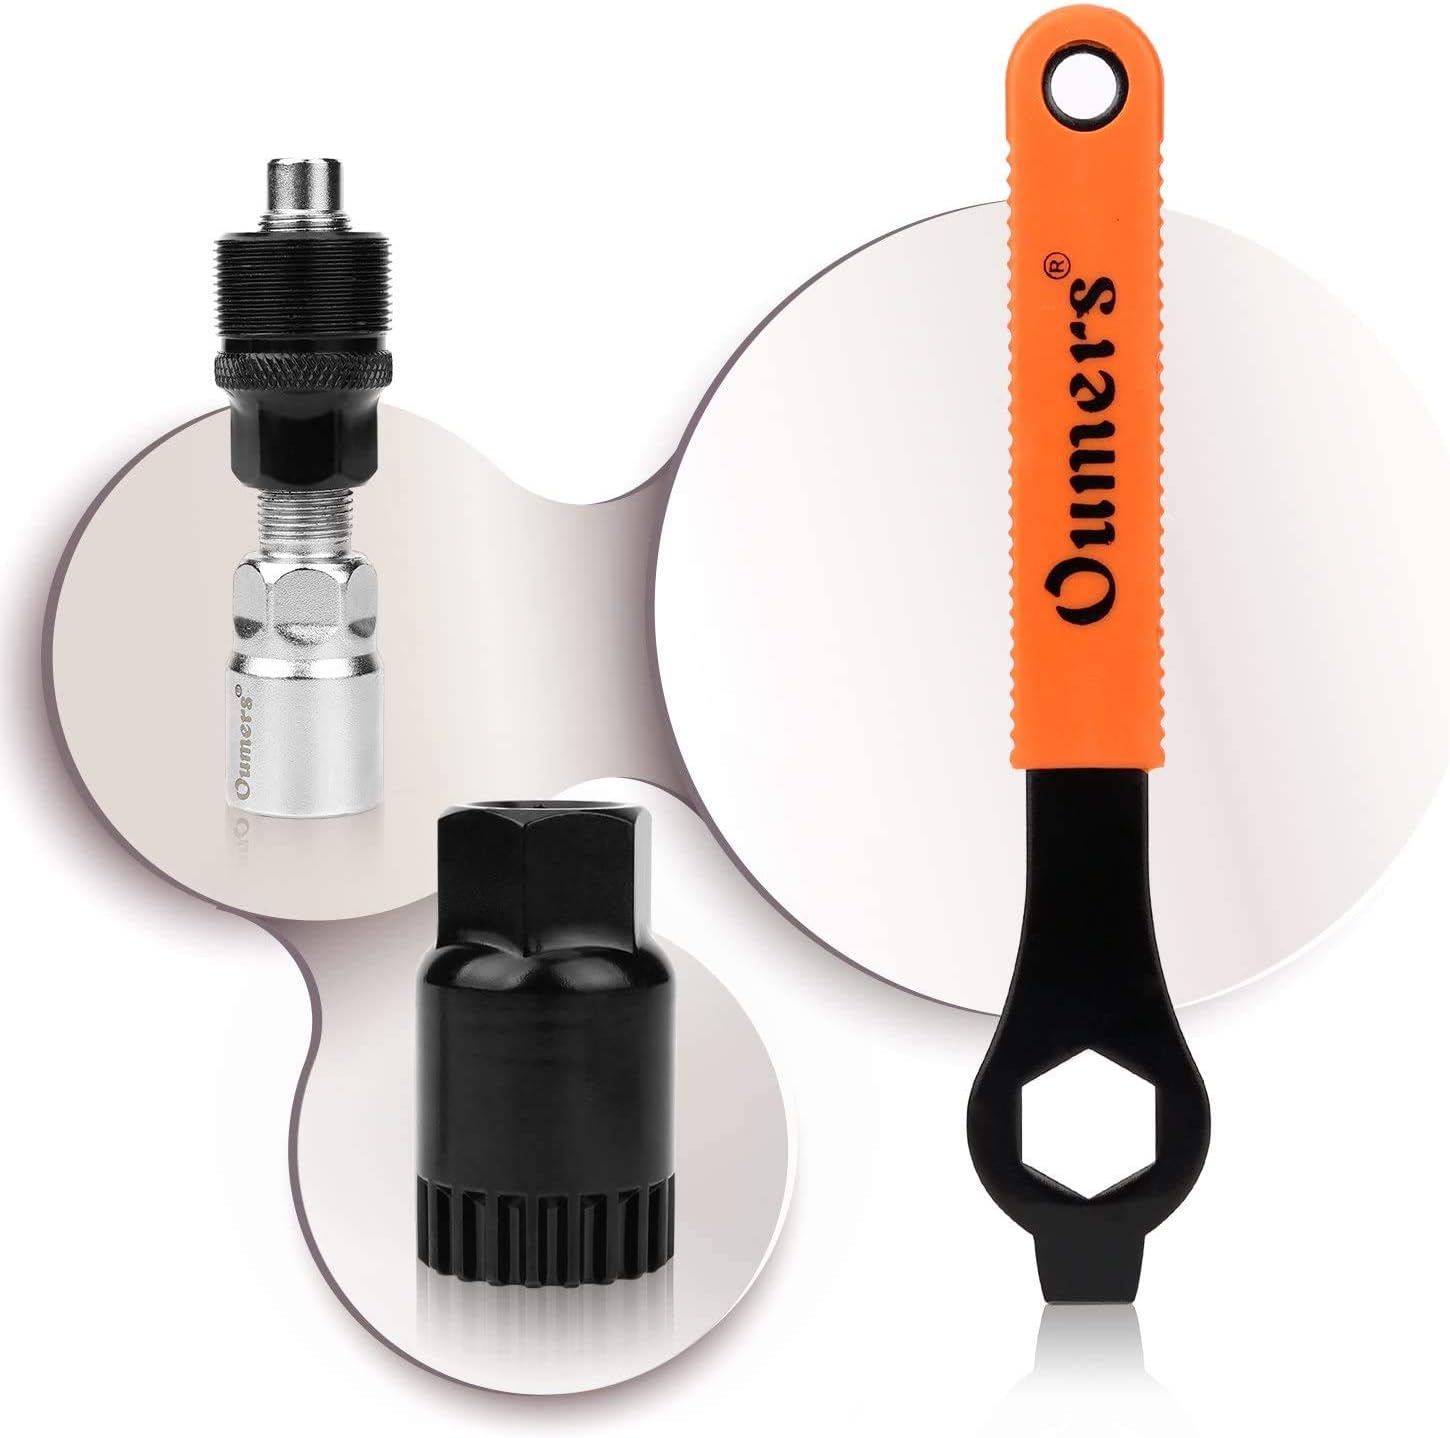
Oumers
$10.89
In stock on Amazon
Check price on AmazonDedicated Single-Purpose Crank Pullers
Individual dedicated crank pullers — purpose-built for one job — tend to be machined to tighter tolerances, thread more positively into the crank arm, and apply force more cleanly than their kit-bundled counterparts. Owner feedback for mid-range dedicated pullers in the $25–$45 price band is consistently stronger than for equivalent-priced kit elements. Buyers in this category frequently report successful removal of cranks that resisted hammer attempts and improvised methods, which is a practical illustration of what proper thread engagement and a rigid tool body actually accomplish.
A dedicated mid-range puller occupies the sensible middle ground: it eliminates the weakest-link problem inherent in multi-tool kits, costs only marginally more than the kit-share value of a kit’s crank-puller element, and performs reliably for the occasional home mechanic maintaining one or two bikes. The functional floor of a dedicated mid-range puller is meaningfully higher than extracting the crank-puller element from a multi-tool kit.
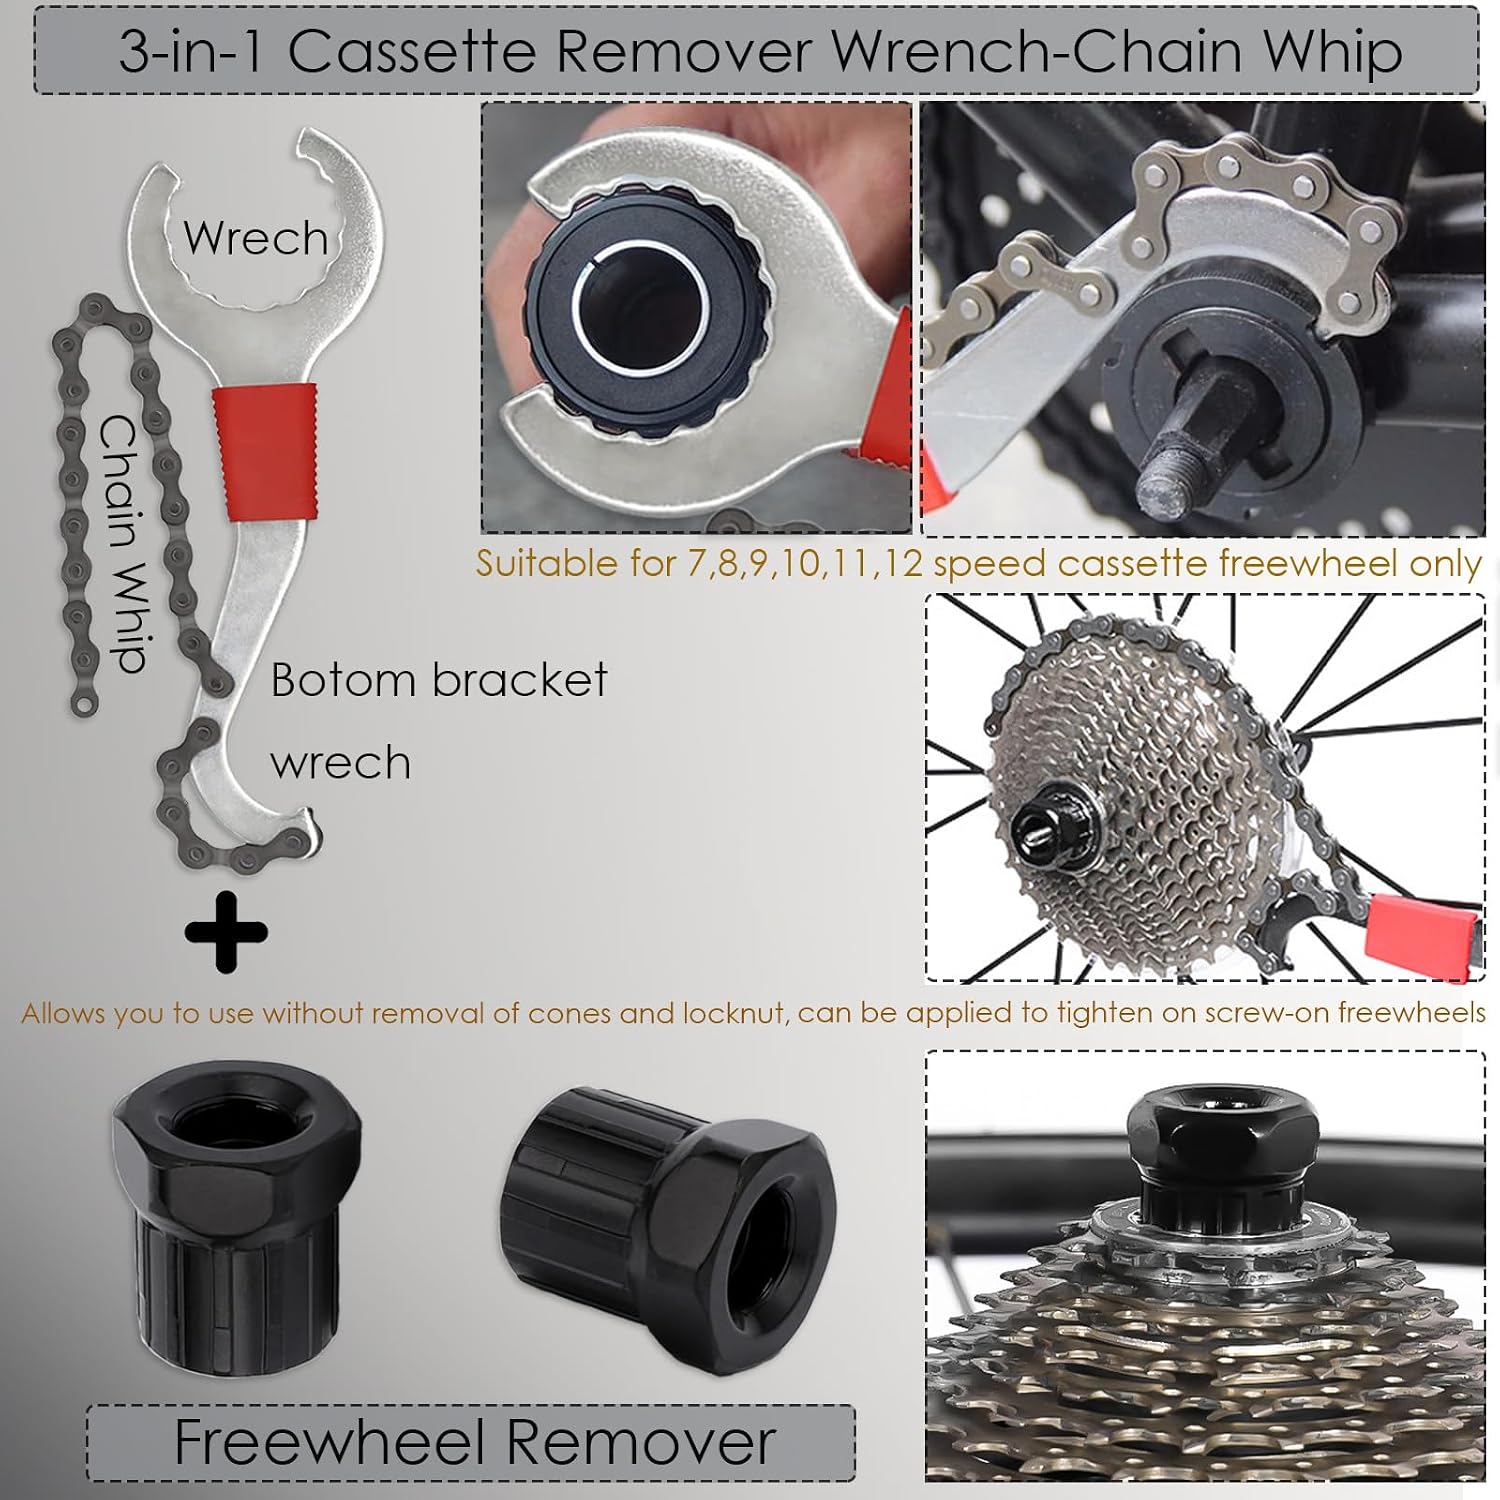
Bike
$15.80
In stock on Amazon
Check price on AmazonPremium and Professional-Grade Tools
For mechanics maintaining multiple bikes across different eras, or anyone whose cranks represent a meaningful financial investment, a professional-grade tool such as the Park Tool CCP-44 is the correct answer. Park Tool’s crank removal and installation documentation — published on the Park Tool blog at parktool.com — describes the engineering rationale behind their extractor design: full thread engagement across a broad contact surface distributes load evenly and eliminates the micro-movement that degrades soft aluminum crank threads under pulling force. The CCP-44 handles both square taper and external-bearing two-piece cranks in a single design, it is built to last hundreds of uses, and it eliminates the guesswork about whether the tool can handle your most expensive crankset.
Premium tools in the $35–$55 range represent a rounding error against the cost of a mid-range or high-end crankset, and they are the only category where the cost-per-use math is unambiguously favorable from the very first job.
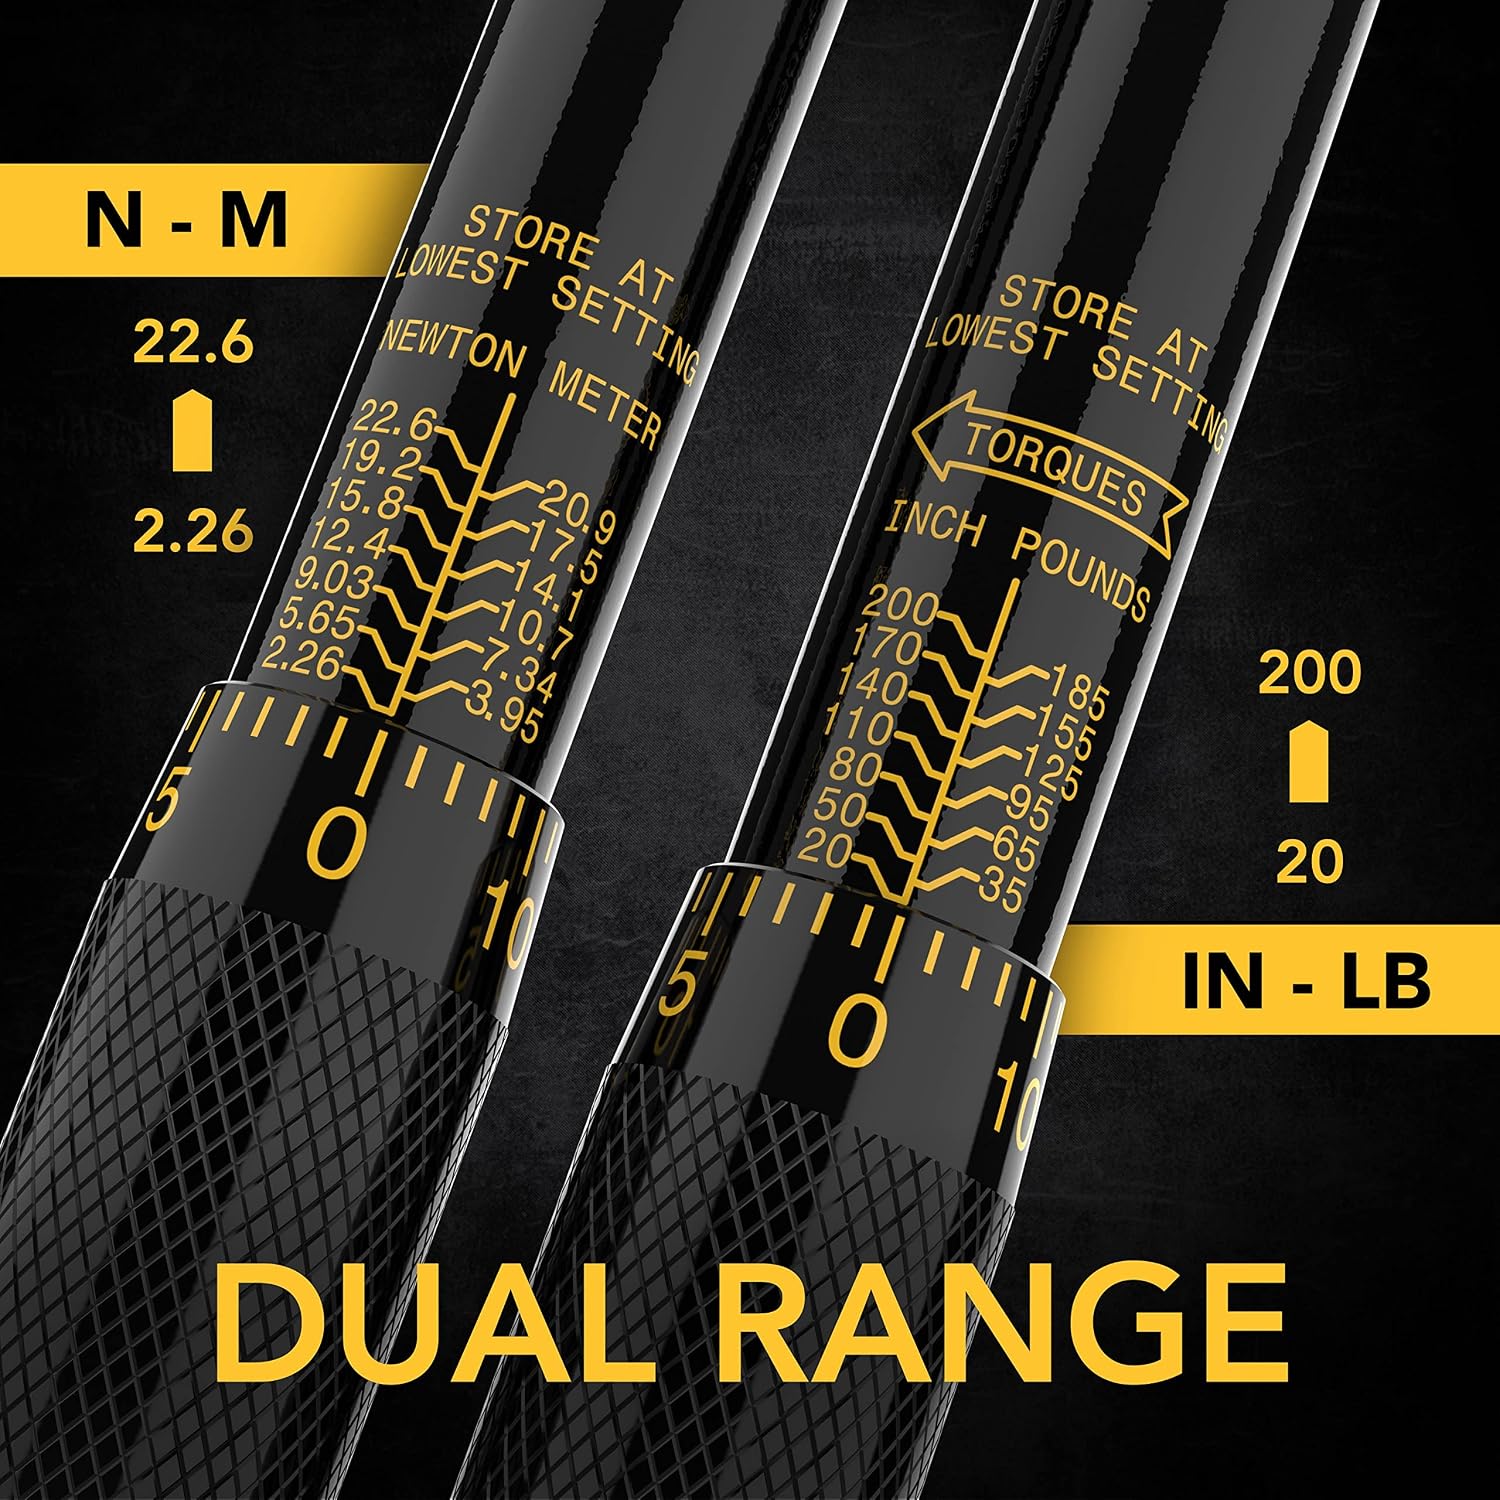
LEXIVON LX-181
$37.97
In stock on Amazon
Check price on AmazonThe $600 Warning: Why Tool Quality Has Real Consequence Here
The most important failure mode in the owner-review landscape for crank pullers is documented — not theoretical. Verified buyer reports include cases in which a crank puller stripped and destroyed a set of cranks, resulting in replacement costs in the $400–$600 range. This is the exact failure mode the tool is supposed to prevent: the puller’s threads gall or strip under load, the tool loses purchase, and the repair attempt becomes a parts-replacement event.
Sheldon Brown’s foundational reference on crank removal — “Bottom Bracket and Crank Removal,” published at sheldonbrown.com — emphasizes that the most common cause of crank-puller failure is improper seating: specifically, failing to thread the tool fully and squarely into the crank arm before applying force. Park Tool’s crank removal and installation guide, published on the Park Tool blog at parktool.com, adds that the extractor bolt must be backed out fully before threading the tool body in, and that cross-threading is possible if you rush the engagement step.
The mechanism of failure is almost always operator interaction with a marginal tool: a puller with slightly sloppy thread engagement allows micro-movement under load, which rapidly degrades the soft aluminum threads in the crank arm itself. A quality tool with precise threads reduces this risk; it does not eliminate it, but it gives proper technique a much better chance of success.
BikeRadar’s workshop guide “How to Remove a Crankset,” published at bikeradar.com, recommends dedicated tools over kit elements for exactly this reason — the consequences of tool failure are asymmetric, and the cost difference between a kit element and a quality dedicated puller is rarely more than $20.
By the numbers:
| Scenario | Tool cost | Crank replacement if stripped | Net exposure |
|---|---|---|---|
| Budget kit element | ~$10–15 (kit share) | $200–$600 | $210–$615 |
| Dedicated mid-range puller | $25–$45 | $0 (proper engagement) | $25–$45 |
| Premium tool (e.g., Park Tool CCP-44) | $35–$55 | $0 | $35–$55 |
The practical implication: if you own cranks worth more than roughly $150, the quality of the puller matters far more than the price difference between categories suggests.
Matching the Tool to Your Crank Interface
Before buying anything, you need to identify your crank’s interface type. CyclingNews’s explainer “Bottom Bracket Standards Explained,” published at cyclingnews.com, lays out the full landscape of interface types in detail, and it is worth reading before you stand in front of a wall of tools at the shop.
Square taper is the oldest and most common interface on bikes made before roughly 2005, and on many entry-level bikes today. The spindle is square in cross-section with a slight taper. Nearly every crank puller on the market handles square taper — it is the universal baseline.
ISIS Drive is a nine-spline interface that competed with square taper in the late 1990s through the mid-2000s. It requires a puller with a larger-diameter thread (23.35 mm versus 22 mm for square taper). Some pullers are dual-mode; many budget tools are not. If you have an ISIS crank, verify that any tool you buy explicitly lists ISIS compatibility before purchasing.
Hollowtech II and similar two-piece designs from SRAM and Campagnolo do not use a crank puller in the traditional sense. These cranks are retained by a pinch bolt or a preload cap, and the arm slides off the spindle once the bolt is loosened. Shimano’s technical service instructions for Hollowtech II groupsets, available through Shimano’s service information portal at si.shimano.com, confirm that no external extraction force is required — the arm is a slip fit once the pinch bolt is released. SRAM’s technical documentation, published at sram.com, describes the same slip-fit architecture for SRAM DUB cranksets. If you own a modern road or mountain bike with a two-piece crankset, a threaded crank puller is the wrong tool entirely.
The diagnostic process: look at the end of your crank arm where it meets the spindle. A square hole means square taper. A circular hole with splines visible means ISIS or Octalink (similar interface, not cross-compatible). If the spindle passes through the arm and is held by a bolt from the non-drive side, you have a two-piece design, and you need to stop here and research the correct preload cap or pinch-bolt procedure for your specific groupset.
Decision Framework: Which Purchase Makes Sense for You
If you’re doing a one-time service on a bike with a square taper or ISIS crank worth more than $150: Buy a dedicated single-purpose puller, not a kit. The price difference is trivial relative to the crank value you’re protecting, and owner-reported outcomes are meaningfully better with a purpose-built tool.
If you’re setting up a basic home toolkit from scratch and your cranks are on a budget commuter or older bike with a crank value under $150: A budget multi-tool kit is defensible. Just know that the chain breaker is likely to be the disposable component. Use the crank puller carefully — full thread engagement before any force, no rushing, never an impact driver.
If you own a modern two-piece crankset (Shimano Hollowtech II, SRAM DUB, Campagnolo Ultra-Torque): You do not need a crank puller. Research the correct preload cap tool for your specific bottom bracket interface. Shimano’s service instructions at si.shimano.com and SRAM’s technical documentation at sram.com both publish interface-specific procedures that walk through the correct removal sequence.
If you’re a small-shop mechanic or coach maintaining multiple bikes across different eras: A professional-grade tool such as the Park Tool CCP-44 is the correct answer. It handles the full range of older crank interfaces in one design, it is built to last hundreds of uses, and it eliminates the quality uncertainty that makes cheaper tools a liability on expensive bikes.
Frequently Asked Questions
How do I know if my crank is square taper, ISIS, or Hollowtech before buying a puller? Look at where the crank arm meets the spindle. Square taper shows a square tapered hole; ISIS shows a circular bore with nine visible splines; Hollowtech and similar two-piece cranks show the spindle passing through the arm, retained by an external bolt. Park Tool’s crank identification resources, published at parktool.com, include photographs of each interface type.
What causes a crank puller to strip my crank arms, and how do I prevent it? Stripping happens when the puller’s threads don’t fully engage with the crank arm’s threads before force is applied — or when the tool’s thread quality is low enough that it galls under load. Prevention: thread the puller body in by hand until it bottoms out completely (at least eight to ten full turns), verify it sits square, and apply force gradually. As noted in Sheldon Brown’s crank removal reference at sheldonbrown.com, rushing the engagement step is the single most common cause of failure.
Is a budget crank puller safe to use on mid-range or expensive cranks? Based on owner-reported outcomes, the risk is meaningful. The crank-destruction scenario described above illustrates the real consequence. For cranks valued at $150 or more, a dedicated mid-range or quality tool is strongly worth the marginal cost difference.
Do I need a separate bottom bracket tool, or does the crank puller handle everything? These are two separate tools for two separate jobs. The crank puller removes the crank arms from the spindle. A bottom bracket tool — a splined socket or cup wrench — removes the bottom bracket shell from the frame. You need both if you’re doing a complete bottom bracket service.
What is a 16mm cone spanner sometimes included in tool kits actually used for? A 16mm cone spanner is used for adjusting threaded cup-and-cone hubs — specifically the locknuts on older wheel hubs. It is not part of the crank removal process. Its presence in some kits reflects that these are general cycling multi-tool collections rather than crank-specific kits.
Can I use the same crank puller for both removal and reinstallation? For square taper and ISIS cranks, the puller is a removal-only tool. Reinstallation uses a crank bolt threaded into the spindle, tightened to the manufacturer’s torque specification — typically 35–50 Nm for square taper, per Shimano’s technical service documentation at si.shimano.com. Some pullers include a dust cap tool, but the puller mechanism itself only pushes outward.
The Bottom Line
For the occasional home mechanic, the crank puller is one of those tools where the failure-cost asymmetry strongly favors buying right once. A dedicated, purpose-built puller — even in the budget tier — consistently outperforms the crank-puller element bundled into multi-tool kits, and the price gap is rarely more than $15–$25. If you’re building a first toolkit and want to bundle tools, go in knowing the chain breaker in that kit is likely to be the weakest link, not the crank puller. And if your cranks are worth more than $150, treat the quality of the tool as part of the protection cost, not an optional upgrade.
The sources are consistent on this point: Sheldon Brown’s crank removal reference at sheldonbrown.com, Park Tool’s installation guide published at parktool.com, and BikeRadar’s workshop documentation at bikeradar.com all point toward the same conclusion — the right tool, properly seated, makes a difficult job straightforward; the wrong tool, or the right tool used carelessly, can turn a $35 service into a $600 parts order.