If you’ve ever been mid-climb and felt your rear derailleur — the mechanism hanging off the back of your bike that moves the chain between gears — suddenly skip to a neighboring sprocket without you touching the shifter, you’ve experienced “ghost shifting.” It’s one of the most frustrating mechanical gremlins in cycling, and riders often burn an hour barrel-adjusting cables, tweaking limit screws, and swapping chains before finding the actual culprit: a bent derailleur hanger. The hanger is a small, intentionally sacrificial bracket that connects your derailleur to the frame. It’s designed to bend or break in a crash so your expensive derailleur and frame survive. That’s a smart design — but it also means even a minor tip-over in the parking lot can throw your hanger out of alignment by a millimeter or two, enough to make a modern 12-speed drivetrain behave like it’s possessed. This guide walks through how to diagnose a bent hanger, how to realign it, and how to decide when alignment isn’t enough and replacement is the call.
Why the Hanger Is the First Thing to Check (and the Last Thing Most People Do)
Modern drivetrains — whether you’re running SRAM Eagle AXS, Shimano Dura-Ace Di2, or Campagnolo Super Record EPS — are engineered to extraordinarily tight tolerances. A 12-speed cassette compresses the same lateral space that a 9-speed cassette once used, meaning each sprocket step is narrower, and the derailleur’s ability to index precisely into each position matters more than ever. Per BikeRadar’s derailleur hanger alignment guide, even a two-millimeter deviation at the hanger’s mounting face can translate to five or more millimeters of lateral error at the derailleur’s jockey wheel — the small pulley that guides the chain — which is more than enough to cause cross-chaining, ghost shifts, and dropped chains.
The reason most riders skip the hanger is simple: it doesn’t look bent. A hanger can be significantly out of alignment and still appear straight to the naked eye. The only way to know is to measure it against the wheel rim using a dedicated alignment gauge, which we’ll cover in a moment. VeloNews’s mechanical troubleshooting feature on ghost shifting makes the same point: cable stretch, dirty cables, and worn jockey wheels get blamed first because they’re visible. The hanger gets ignored because diagnosing it requires a tool most home mechanics don’t own yet.
The cost of delay is real. Running a misaligned hanger for months doesn’t just cause annoying shifts — it accelerates chain wear, stresses the derailleur’s parallelogram mechanism, and on electronic systems can cause the motor to work against a geometry it wasn’t calibrated to handle.
Diagnosing a Bent Hanger: The Gauge Method
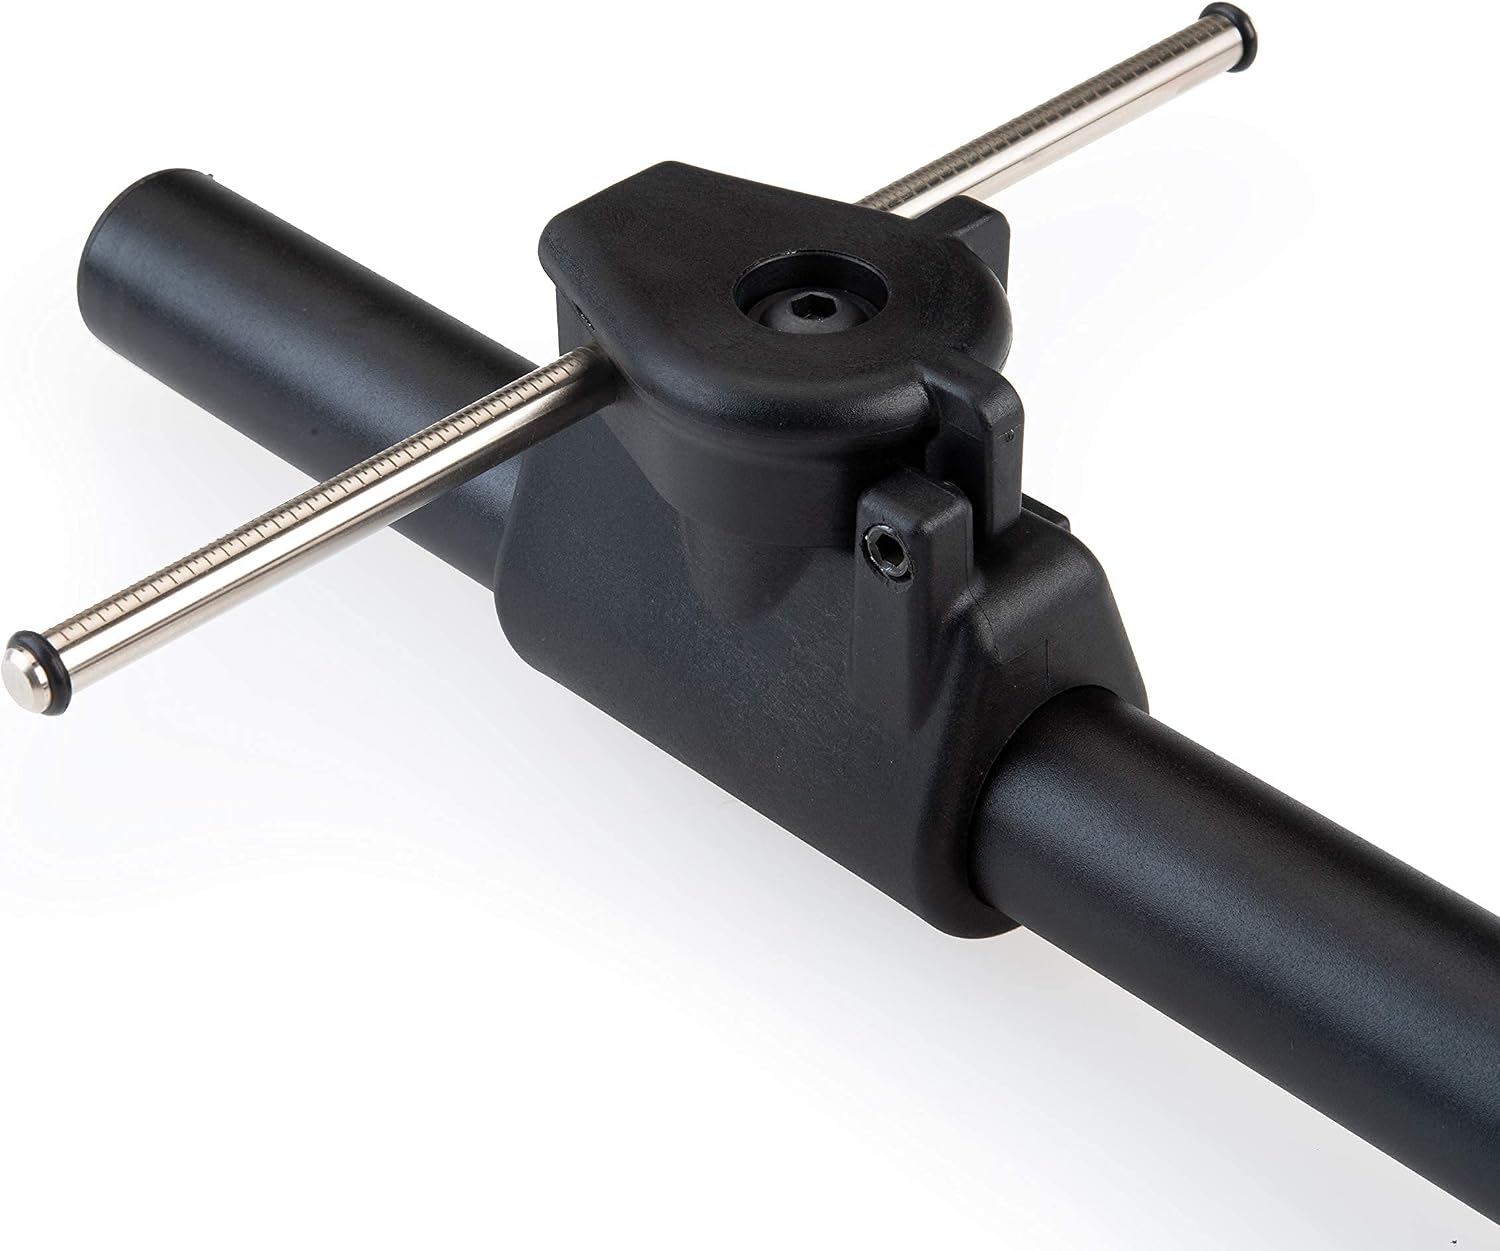
The standard diagnostic tool is a derailleur hanger alignment gauge — a long arm with a dial indicator or a fixed tip that you thread into the hanger’s derailleur mounting hole, then rotate around the rim to measure the gap at four points: 12 o’clock, 3 o’clock, 6 o’clock, and 9 o’clock. Park Tool’s hanger alignment guide describes this process in detail using their DAG-2.2 gauge: you’re looking for consistent distance from the gauge tip to the rim at all four positions. Any variance greater than approximately 1–2mm across the rotation indicates the hanger is bent.
What to do before you start:
- Check tire pressure first. A soft tire will give you a false reading because the rim can flex under the gauge.
- Confirm the wheel is properly seated and the quick-release or through-axle is fully torqued. A loose axle introduces its own lateral play.
- If your bike has a carbon rim, use a cloth or tape between the gauge tip and the rim to avoid scratching the surface.
The process itself is tactile: you thread the gauge in finger-tight, position the tip near the rim, rotate to 12 o’clock and zero out your reference, then check 3, 6, and 9. When you find the low spot — the position where the gap closes — that’s the direction the hanger has bent. You then use the gauge arm as a lever to gently push the hanger back toward true, re-check, repeat. Sheldon Brown’s derailleur adjustment reference notes this is an iterative process: aluminum yields a little, springs back a little, and you’re chasing a moving target until you’re within spec.
By the Numbers
| Condition | Gap Variance at Rim | Likely Symptom |
|---|---|---|
| Hanger in spec | <1mm across 360° | Crisp indexing, no ghost shifts |
| Mildly bent | 2–4mm variance | Ghost shifting in 2–3 gears |
| Significantly bent | 5mm+ variance | Won’t index, chain drops, derailleur rubs |
| Replace, don’t bend | Crack visible, multiple bends | Alignment won’t hold; metal fatigue risk |
Bending vs. Replacing: Where the Decision Line Is
This is where intermediate mechanics often get the call wrong in the direction of over-optimism. Aluminum hangers can be bent back to true — but only so many times before the metal fatigues and the alignment stops holding between rides. The rule of thumb widely cited by shop mechanics and supported by Park Tool’s documentation: if the hanger has been bent in the same location more than twice, or if you can see any visible cracking or stress marks at the bend point, replace it. Don’t try to squeeze another season out of it.
The counterargument — that replacement hangers are cheap, and any time spent bending a worn hanger is time wasted — is increasingly persuasive as component costs climb. If you’re maintaining a $3,000 Shimano Dura-Ace Di2 groupset or a SRAM Red AXS build, the hanger is genuinely the cheapest insurance policy on the bike. Replacement hangers typically run $10–$30 depending on the frame manufacturer, and most high-volume brands (Trek, Specialized, Giant, Santa Cruz, Ibis) stock them readily through dealers or direct from the manufacturer.
The frame-specific compatibility issue is where riders get burned on cost. Hangers are not universal. Nearly every frame manufacturer uses a proprietary hanger design. There are databases — Wheels Manufacturing maintains one of the most comprehensive — that cross-reference frame model and year to hanger part number. Before you order, confirm you have the exact year of your frame; some manufacturers changed hanger designs mid-production-run on the same model. Getting this wrong means a hanger that physically fits but holds the derailleur at the wrong angle — which recreates the original problem.
For steel frames — particularly custom builds from builders like Mosaic, Breadwinner, or Soulcraft — the situation is different. Many steel frames use a threaded derailleur eye that’s part of the dropout itself, not a replaceable hanger. On these bikes, if the eye gets bent, you’re looking at a frame realignment job with proper dropout alignment tools (Park Tool’s DAG-2.2 does double duty here, or a dedicated dropout alignment set). This is not a first-timer job on a $4,000 custom frame — a trusted framebuilder or well-equipped shop is the right call.
The Tool Investment: What You Actually Need
Let’s be direct about the math here, because this is where the practitioner decision lives.
A quality hanger alignment gauge — the Park Tool DAG-2.2 is the benchmark, and it’s the gauge referenced in both Park Tool’s own documentation and across the workshop guides at BikeRadar — runs approximately $80–$100 at retail as of mid-2026. That’s the entry point for doing this job properly at home. A gauge from a discount source will work on 8- or 9-speed setups with some tolerance, but if you’re indexing a 12-speed system with 0.5mm sprocket spacing, you want a gauge with reliable repeatability.
If you’re a shop mechanic or maintaining multiple high-end builds, the math is obvious: the gauge pays for itself in the first two or three hangers you don’t have to send to a shop. For the single-bike owner doing this once a year after a crash, it’s worth weighing whether a shop visit ($20–$40 for hanger alignment in most markets) is the right spend versus tool ownership.
For replacement hangers specifically, the only tool you need beyond the gauge is the correct-length M10 bolt to thread the gauge in (usually included) and a set of metric hex keys for the hanger mounting bolt — typically 5mm. Torque matters here: Shimano’s technical documentation (available at si.shimano.com) specifies hanger mounting bolt torque at 8–10 Nm depending on the frame material. Carbon frames often have lower spec’d values and the consequences of over-torquing are more severe. A quality torque wrench in the 2–10 Nm range is not optional if you’re working on carbon.
Electronic Drivetrains Add a Layer, But the Fix Is the Same
One common misconception about electronic groupsets — Shimano Di2, SRAM AXS, Campagnolo EPS — is that they self-correct for hanger misalignment because the motor adjusts position automatically. This is partly true in a narrow sense: electronic derailleurs do make micro-corrections at each shift to land the chain. But they cannot compensate for gross misalignment. If the hanger is bent significantly, the derailleur’s motor is working against a geometry the system wasn’t calibrated for, which shows up as slow shifts, inconsistent indexing, and — on SRAM AXS — dropped chain alerts in the app.
The same alignment process applies. BikeRadar’s derailleur hanger alignment guide notes that electronic groupsets are actually more sensitive to hanger misalignment than mechanical systems precisely because their shift windows are so narrow. Align the hanger first, then perform any electronic calibration or micro-adjustment. Doing it in the reverse order is chasing ghosts inside software when the problem is mechanical.
The Decision Rule
If you’re working through a ghost-shifting problem and you haven’t checked the hanger with a gauge, you haven’t diagnosed the bike yet — you’ve guessed at it. Here’s the clean decision tree:
- Ghost shifting + no recent crash or tip-over → Check cable tension and housing first, then hanger alignment. In that order.
- Ghost shifting + known impact, even minor → Check hanger alignment first. Cables don’t bend in a fall; the hanger does.
- Hanger bends back to spec and holds → Ride and monitor. If it drifts again within 200 miles without a new impact, replace it; the metal is fatigued.
- Visible crack, multiple bends in same spot, or steel dropout → Don’t align, replace or get to a framebuilder.
- Electronic drivetrain, poor shifting after hanger alignment → Perform a clean calibration or re-index per your groupset’s procedure (si.shimano.com for Di2 specifics, sram.com for AXS documentation).
The hanger is the least expensive, most replaceable component in your drivetrain ecosystem. Treating it as a maintenance item — not an emergency repair — is the mindset shift that keeps a high-investment build shifting like it’s supposed to.