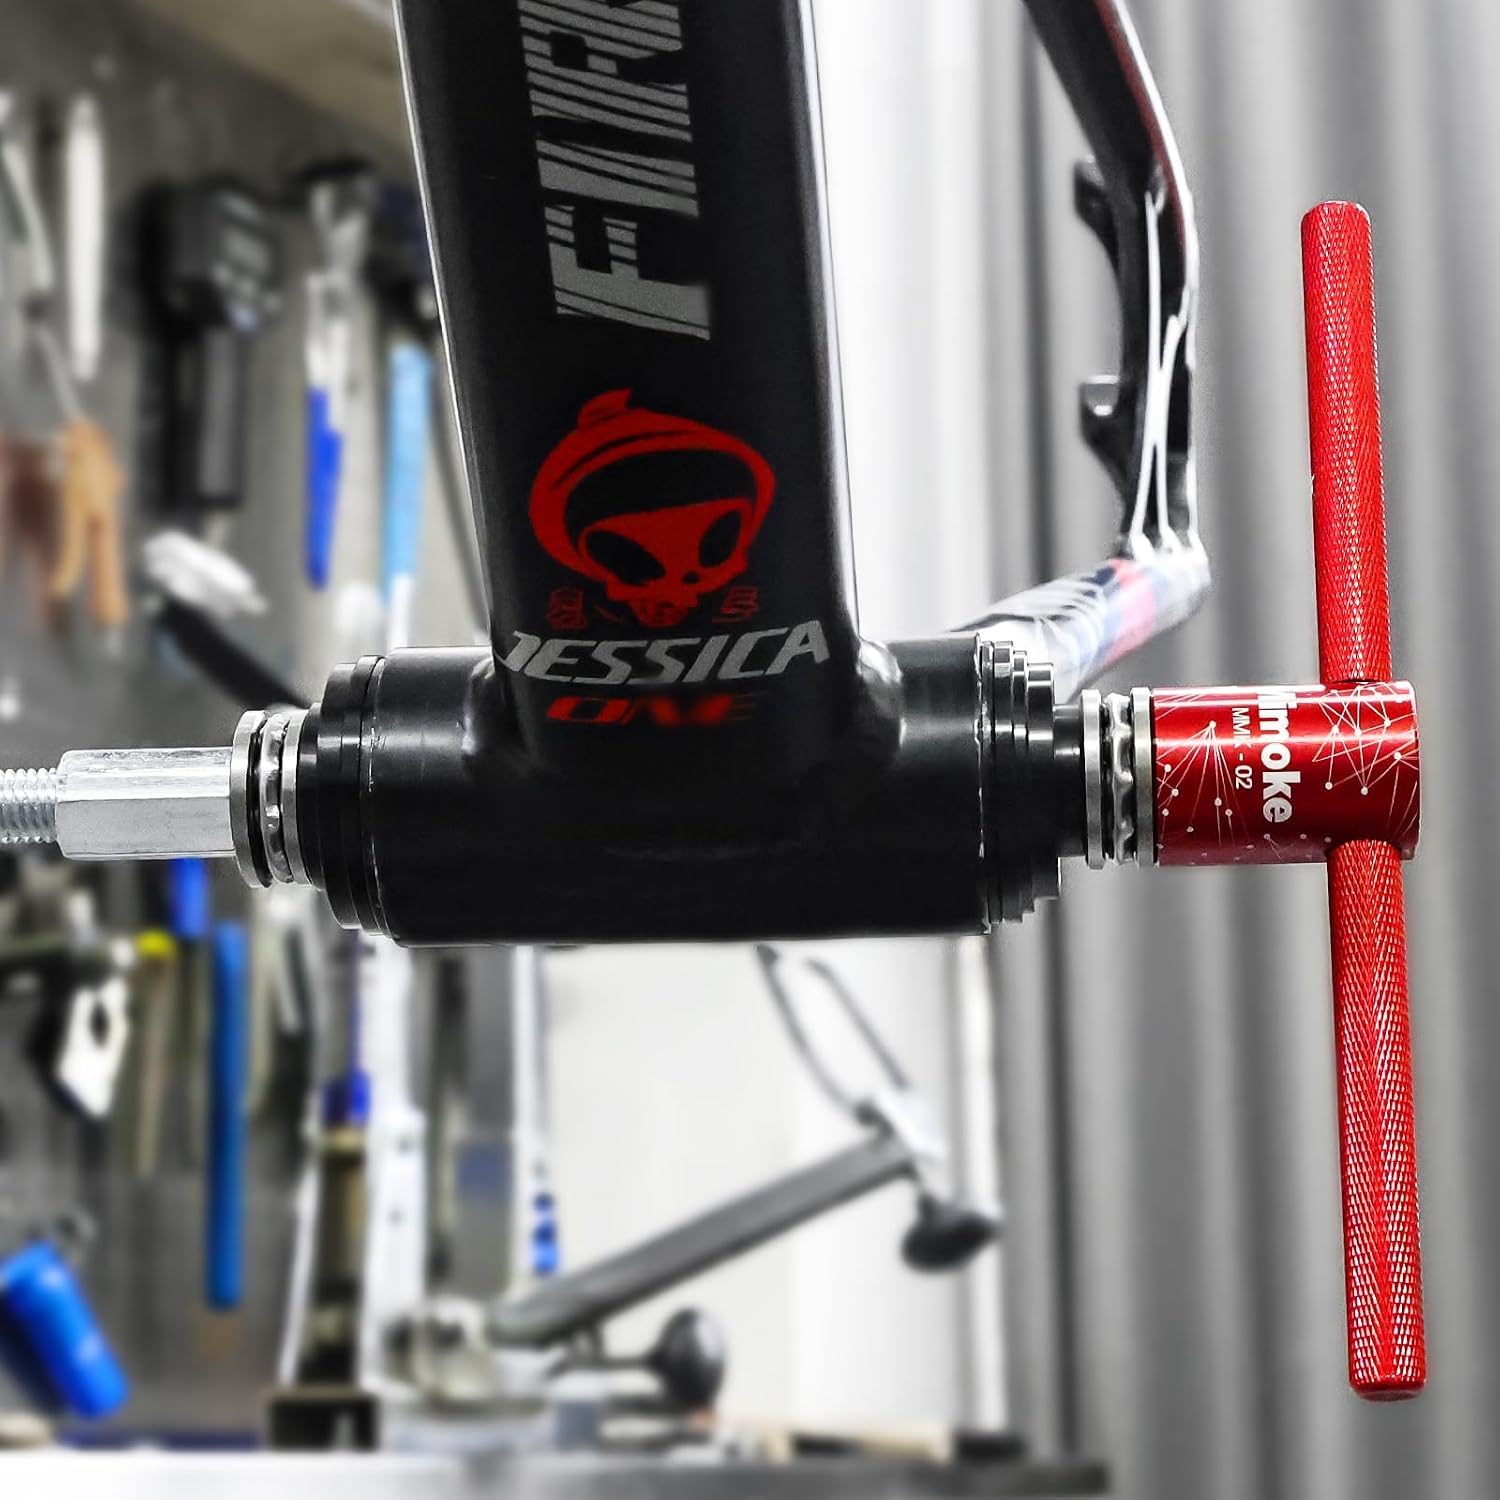
If you’ve ever paid a bike shop to swap a headset or bottom bracket and walked out wondering what exactly happened in the back room, you’re not alone. A headset is the set of bearings that lives inside your fork’s steering tube and lets your handlebars rotate smoothly; a bottom bracket (BB) is the bearing assembly that your pedal cranks spin around at the center of your frame. Both are interference-fit — meaning they’re slightly larger than the hole they go into, and getting them in and out cleanly requires either a specialized press tool or an expensive amount of luck with improvised hardware. A single shop visit for a press-fit bottom bracket swap routinely runs $40–$80 in labor alone, depending on your market. In 2026, a capable home press kit costs roughly the same. If you’re maintaining more than one bike, or if you’re the kind of person who reads torque specs for fun, the math for owning your own press tool becomes obvious fast. This article breaks down what that ownership actually looks like — which tools earn their keep, where the gaps are, and how to avoid the compatibility landmines that reviewers only mention after the fact.
| EDITOR'S PICKPark Tool Press Fit Removal Too… | Mid-tierBicycle Bottom Bracket Install… | Budget pickMimoke Bicycle Headset Press To… | |
|---|---|---|---|
| Headset press | — | — | ✓ |
| BB removal | ✓ | ✓ | — |
| BB installation | — | ✓ | ✓ |
| BB standards | — | BB86/BB30/BB91/BB92 | BB73/BB86/BB30/BB91/BB92/PF30 |
| Tool type | Removal | Install + removal kit | Press-in |
| Price | $62.95 | $48.99 | $21.99 |
| See on Amazon → | See on Amazon → | See on Amazon → |
Why Press-Fit Standards Make This Harder Than It Looks
Before comparing tools, it helps to understand why “bottom bracket press tool” is not a single, simple product category.
The cycling industry’s proliferation of press-fit standards — PF30, BB86, BB92, BB386EVO, PF41, and SRAM’s own DUB format — means that what fits a Trek Émonda’s BB90 shell will not fit a Canyon’s BB386 shell, and neither will fit a Specialized with BB90. Sheldon Brown’s Bottom Bracket Standards reference, maintained at sheldonbrown.com, remains the most comprehensive plain-language map of this landscape, and even it requires regular updates as manufacturers introduce proprietary variants.
Each standard has a defined shell inner diameter (ID) and bearing outer diameter (OD). A press tool works by threading a central rod through the shell and using stepped adapter plates — sometimes called cups or anvils — to push the bearing in evenly from both sides simultaneously. Get the wrong adapter plate and you’ll either press a bearing in cocked at an angle or, worse, deform the frame’s shell on a carbon bike.
The adapter plate question is where most home-mechanic frustration lives. Most budget press kits ship with a set of plates covering the most common standards, but coverage varies — and the listings don’t always tell you exactly which plates are included until the box arrives. BikeRadar’s press-fit bottom bracket guide describes this compatibility patchwork in detail and is worth reading before any tool purchase.
Three Tiers of Tools: What Each Level Actually Delivers
Budget Tier: Generic Press Kits
Budget headset and BB press kits — sold under several house-brand names at price points at or below a single shop labor charge — have become a recurring recommendation in home-mechanic circles precisely because of that value framing. You’re not buying a professional shop tool; you’re buying insurance against paying a shop rate every time you want to swap bearings.
Aggregated owner feedback on this category is useful and honest. On the positive side, owners report that budget kits function correctly for BB30 installation. Former shop mechanics who’ve evaluated these tools note that the lighter aluminum construction feels unfamiliar compared to Park Tool’s steel instruments, but that the tool performs the job without incident for a hobbyist pressing one or two BB30 installs per year.
The most consistent criticism across budget kits, however, is the complete absence of printed instructions. Product photos on the listing page are frequently the only usable reference for adapter plate selection and assembly sequence. If you’re a visual learner, this may be fine; if you’re the kind of mechanic who wants a torque spec and a step-by-step diagram, you’ll need to find that documentation yourself. Park Tool’s Bottom Bracket Service documentation, available through the repair help section of parktool.com, and BikeRadar’s press-fit bottom bracket guide are the two resources that consistently fill this gap.
One significant compatibility gap appears repeatedly in owner reports: no adapter ring sized for SRAM DUB’s 29mm inner diameter ships in most budget combo kits. This is not a minor oversight. SRAM DUB is now the standard spindle interface across SRAM’s entire groupset lineup — GX Eagle through Red AXS — and the DUB press-fit bearing has a 29mm bore, subtly different from the dimensions covered by most generic adapter sets. SRAM’s own DUB Bottom Bracket Technical Documentation, available through sram.com, specifies the exact bore dimensions involved. Reviewers note this gap is not disclosed in product listings. DUB users who buy expecting plug-and-play compatibility will need to source an additional adapter or step up a tier.
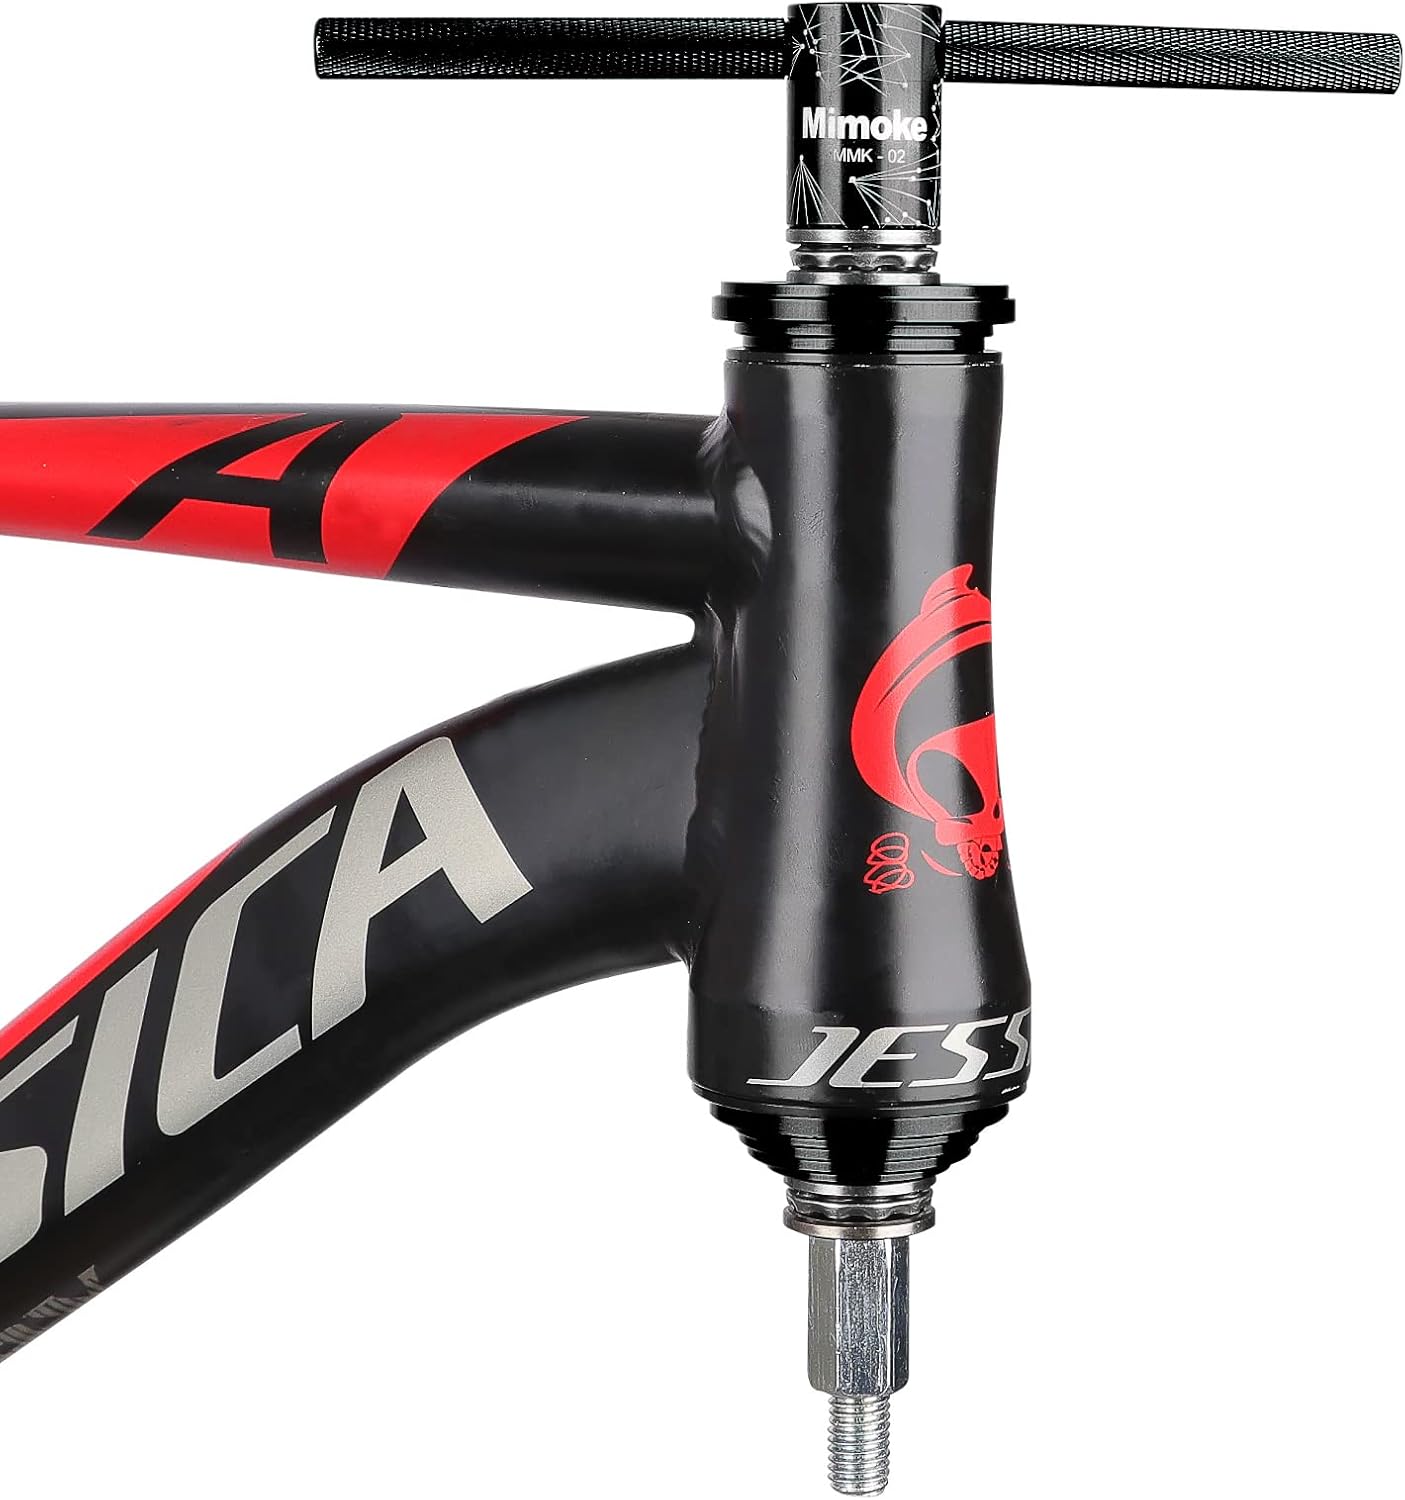
Mimoke
$21.99
In stock on Amazon
Check price on AmazonMid-Tier: Full-Coverage Press Kits with Verified Adapter Sets
The mid-tier is where the adapter plate coverage story changes meaningfully. Kits in this range typically ship with a broader array of stepped anvils, documented to cover BB30, BB86, BB92, PF30, and — critically — SRAM DUB when specified in the product documentation. The central rod assemblies are generally made to tighter tolerances, which matters when you’re asking the tool to advance both bearing faces in perfect parallel.
Owners who maintain multiple bikes across different standards — a BB86 road frame, a PF30 hardtail, a DUB-equipped gravel bike — report that a verified mid-tier kit justifies its price differential within two or three services. The per-use amortization math closes faster than it does for single-bike owners.
The practical advice at this tier: before purchasing, request or locate the exact list of included adapter plates and cross-reference against your frame’s BB shell specification. BikeRadar’s press-fit bottom bracket guide includes a shell ID reference table that makes this cross-check straightforward. Sheldon Brown’s Bottom Bracket Standards reference at sheldonbrown.com adds historical context for less-common standards you may encounter on older or boutique frames.
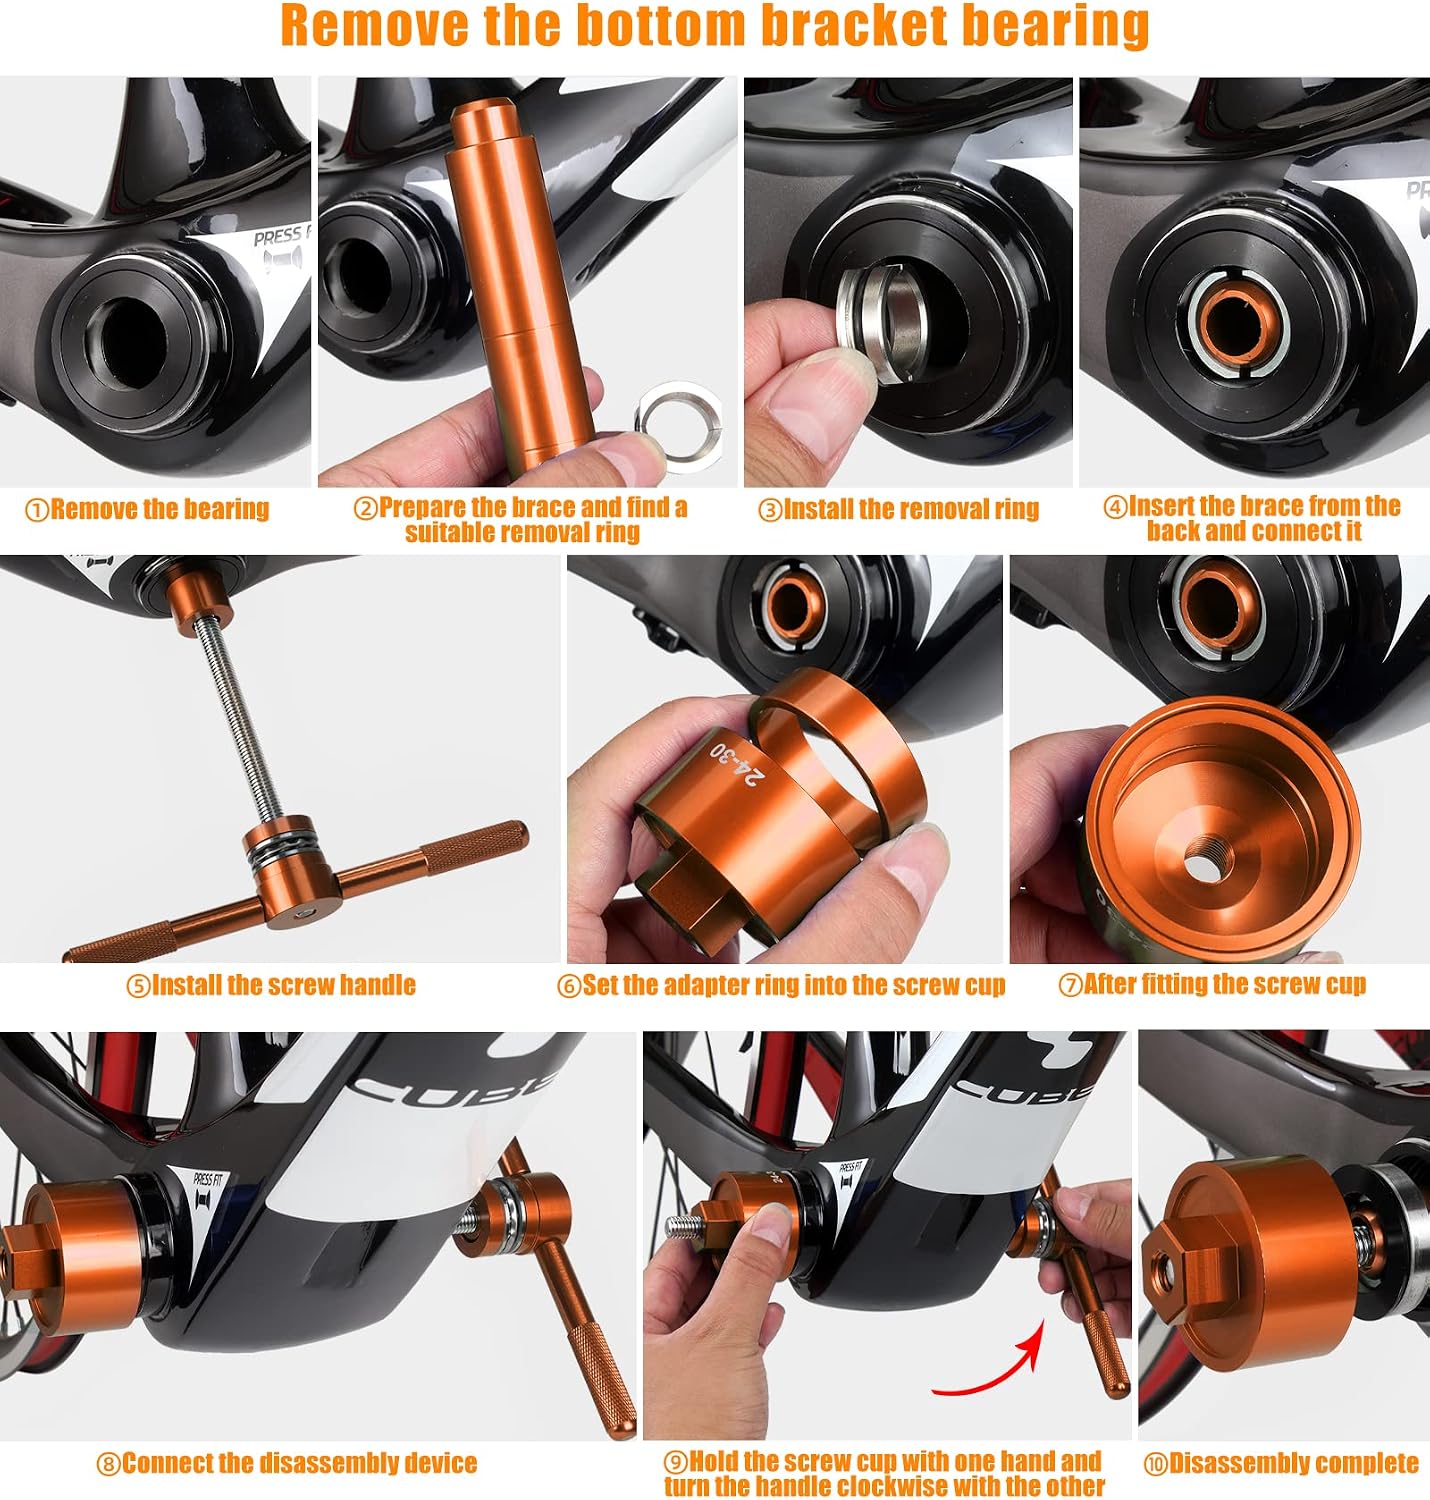
Bicycle
$48.99
In stock on Amazon
Check price on AmazonPremium Tier: Park Tool and Precision Removal
On the removal side — getting old, worn, or corroded press-fit bearings out of the shell without gouging carbon or aluminum — Park Tool’s purpose-built removal tools earn consistent praise from reviewers who have done real-world service work on performance bikes.
The pattern across reviews is specific: owners report clean bearing extraction without frame damage. One documented service case involved a PF41/BB89.5 GXP swap for a SRAM Eagle build that proceeded cleanly using a Park Tool remover followed by a budget press for installation. That combination — Park Tool for removal, budget kit for pressing in — represents the cost-optimized approach that intermediate mechanics increasingly describe in workshop write-ups.
Park Tool’s position in the premium tier is straightforward. Their tools cost more, they’re made to tighter tolerances, and their documentation ecosystem — the parktool.com repair help library — is the most complete in the industry. If you’re removing press-fit bearings from a high-end carbon frame, the Park Tool removal tool’s expanding-collet design — where the tool grips behind the bearing and pulls rather than drives — is specifically engineered to avoid shell contact during extraction. SRAM’s DUB Bottom Bracket Technical Documentation recommends press-and-pull style removal tooling for carbon frame service, a position consistent with what BikeRadar’s press-fit bottom bracket guide describes as best practice.
If you’re running a Campagnolo Super Record crankset or a Chris King threaded bottom bracket on a steel frame, the Park Tool premium removal tool’s precision matters more than it would on a workaday commuter. The margin for error narrows with component cost.
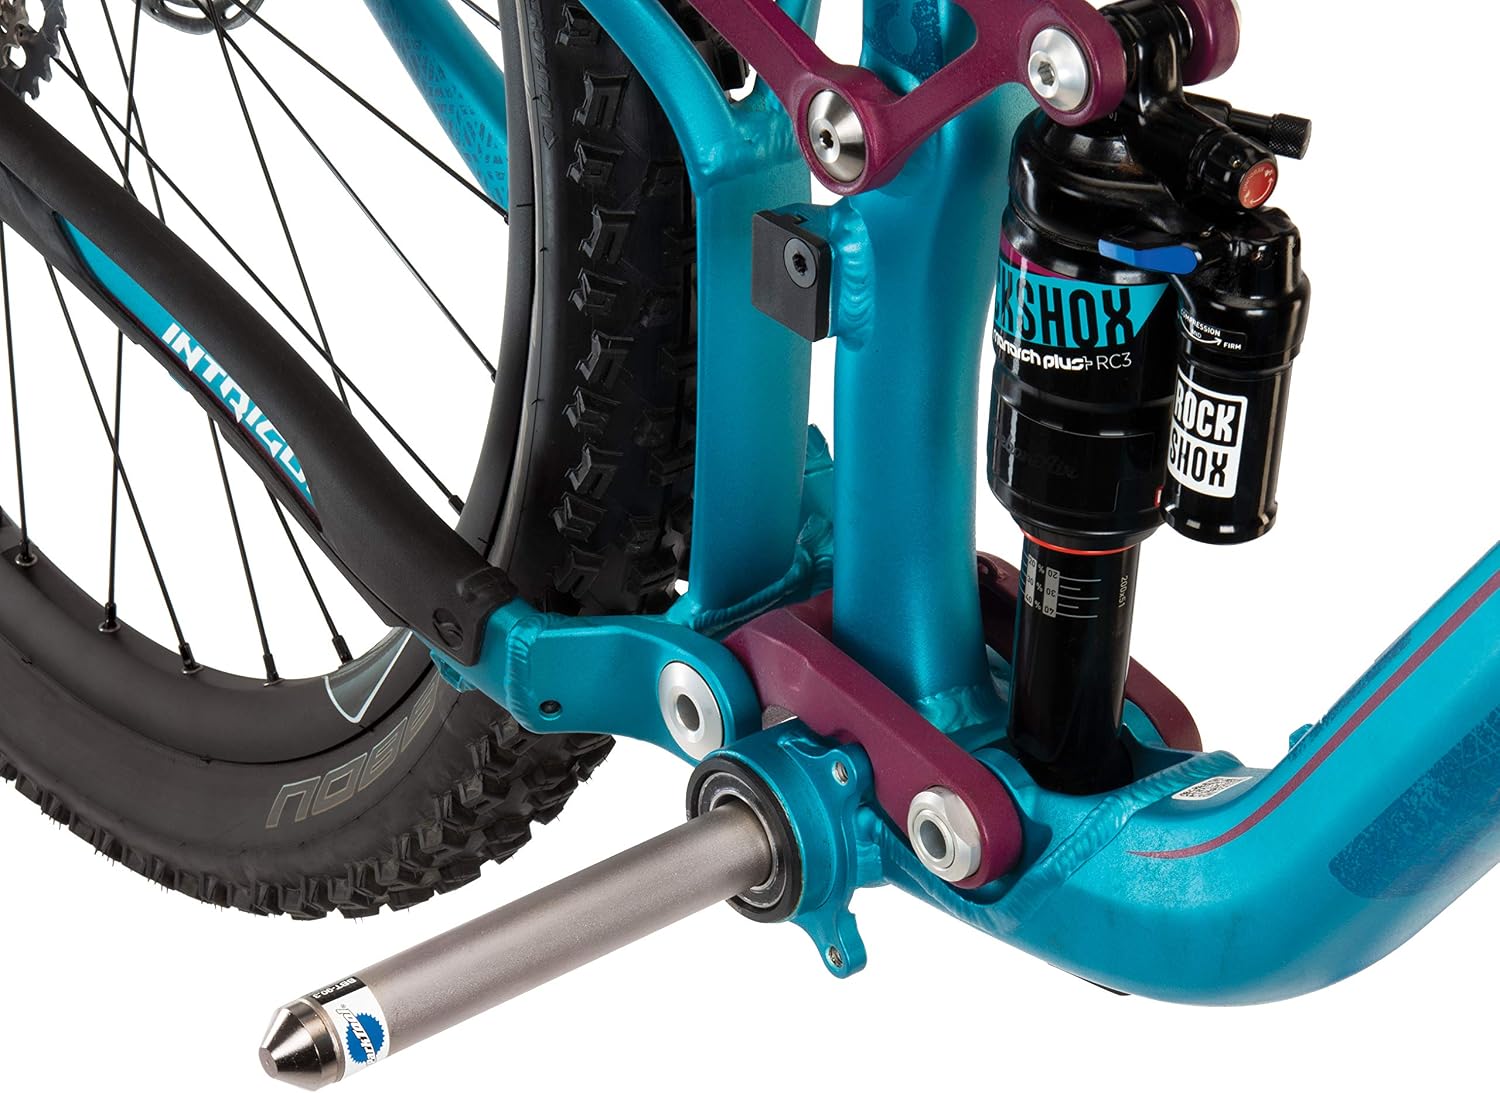
Park
$62.95
In stock on Amazon
Check price on AmazonBy the Numbers
| Standard | Shell ID | DUB Compatible? | Budget Kit Coverage | Tier |
|---|---|---|---|---|
| BB30 | 42mm | No | Yes | Mimoke — $21.99 |
| PF86 / BB86 | 41mm | Via adapter | Yes | Bicycle — $48.99 |
| PF92 / BB92 | 41mm | Via adapter | Yes | Bicycle — $48.99 |
| SRAM DUB PF | 29mm bore | Native | No — adapter missing | Park — $62.95 |
| BSA Threaded | N/A (threaded) | Yes | N/A — no press needed | Mimoke — $21.99 |
Carbon Frames: Where the Stakes Change
The presence of a carbon frame changes the risk calculus for press-fit work in two ways.
First, carbon shells can crack or delaminate if a bearing is pressed in misaligned or with too much force applied unevenly. This is why the quality of your adapter plates — how squarely they seat against the bearing face — matters more than it does on aluminum or steel. Owners of high-end carbon frames who use budget press tools consistently describe being methodical: going slowly, ensuring both sides advance evenly, and stopping to check alignment during the press rather than running the tool to completion without inspection.
Second, if you’re removing bearings from a carbon shell, impact-style removal — hammering on a blind-side drift punch — is how frames get damaged. The Park Tool removal tool’s expanding-collet design is specifically engineered to avoid this failure mode. SRAM’s own DUB Bottom Bracket Technical Documentation recommends press-and-pull style removal tooling for carbon frame service, which aligns with what BikeRadar’s press-fit bottom bracket guide describes as best practice for protecting shell integrity.
The honest practitioner answer: budget press tools can work safely on carbon frames if you operate them carefully. Budget removal tools are where you should be more conservative.
The Decision Frame: Which Tool Belongs in Your Drawer
Here’s the structure that resolves most of the comparison decisions:
If you’re primarily installing (not removing) bearings on aluminum or steel frames, and your build doesn’t involve SRAM DUB: A budget press kit earns its keep at the price of one shop visit. Document the adapter plate selection yourself using Park Tool’s Bottom Bracket Service documentation at parktool.com and Sheldon Brown’s Bottom Bracket Standards reference at sheldonbrown.com, since the box won’t help you.
If you run SRAM DUB components: Verify the exact adapter plate dimensions before purchasing any kit. Most budget combo kits do not include the 29mm ID adapter DUB requires. Cross-reference against SRAM’s DUB Bottom Bracket Technical Documentation before buying. You’ll either need to source that adapter separately or step up to a mid-tier kit that explicitly lists DUB compatibility in its spec sheet.
If you’re removing press-fit bearings from a carbon frame: The Park Tool premium removal tool is the defensible choice. The cost-of-error calculation on a high-end carbon frame makes the price difference close to irrelevant.
If you’re building or maintaining multiple bikes across a mix of standards: A quality mid-tier press with a verified, complete adapter set is worth the investment. Budget tools work for specific installs; they’re not the right answer for a multi-standard workshop where you’re pressing BB86 today and PF30 next week.
Frequently Asked Questions
Does a standard budget kit work for SRAM DUB bottom brackets? Most budget combo kits do not include an adapter ring for SRAM DUB’s 29mm inner diameter — a gap that owners note is typically not disclosed in product listings. If you’re running any SRAM DUB-interface crankset (GX Eagle, Force AXS, Red AXS), verify adapter plate dimensions before buying. SRAM’s DUB Bottom Bracket Technical Documentation at sram.com specifies the exact bore dimensions you need to match.
How do I know which adapter plate to use for my BB standard? Cross-reference your frame’s BB shell standard (stamped on the shell or listed in your frame manufacturer’s spec sheet) against the adapter plate dimensions included in your tool kit. Park Tool’s Bottom Bracket Service documentation through parktool.com’s repair help library and Sheldon Brown’s Bottom Bracket Standards reference at sheldonbrown.com are the two most reliable free resources for this lookup.
Can I use these tools on a carbon frame without risking damage? Yes, with care. Go slowly, advance both sides evenly, and check alignment mid-press. For removal specifically, use a collet-style puller rather than impact-style tools — carbon shells don’t tolerate the lateral stress of a hammer-driven drift. BikeRadar’s press-fit bottom bracket guide covers this risk in detail.
Do I need a separate tool to remove vs. install press-fit bearings? Generally, yes. Press tools install; removal typically requires a different tool — either a slide hammer with an expanding collet or a dedicated bearing puller. Some kits claim to do both, but the designs make tradeoffs. Reviewers who’ve done complete BB services on performance builds tend to use a dedicated remover for extraction and a press kit for installation.
Where do I find instructions when none are included in the box? Start with the product listing photos — they’re the only reference many budget kit owners receive, and they’re functional if you know what you’re looking for. From there: Park Tool’s repair help library at parktool.com, BikeRadar’s press-fit bottom bracket guide, and your frame manufacturer’s technical documentation cover the standard sequences and torque expectations for most press-fit installations.