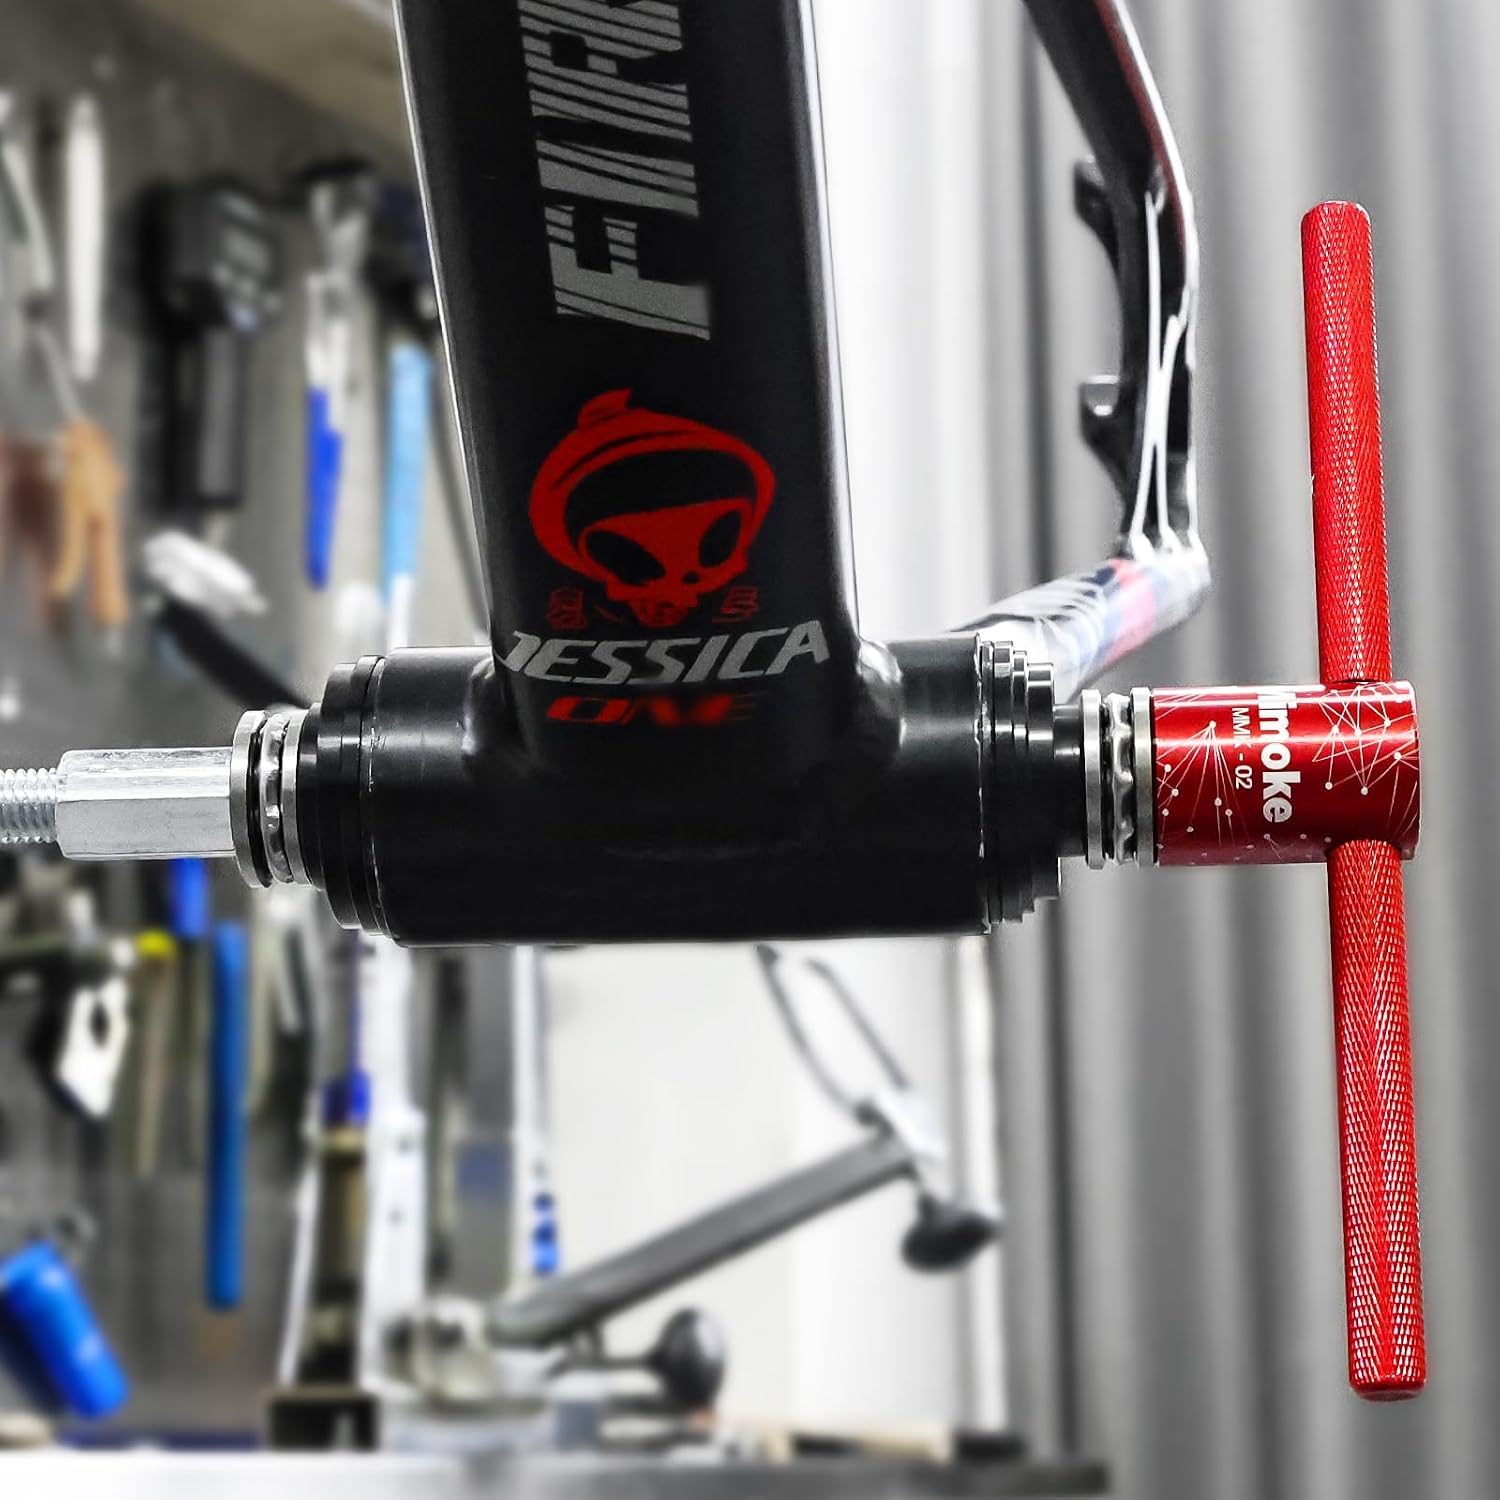
If you’ve ever taken a bike to the shop for a creaky bottom bracket — the cylindrical bearing assembly that sits at the base of the frame and connects the pedal cranks — and been quoted $60 to $100 just for the labor, you already understand the appeal of owning the right tool. Press-fit bottom brackets (often abbreviated PF or BB) and threaded headset cups (the bearings your fork steerer slides through at the front of the frame) are among the most intimidating repairs for home mechanics, and for good reason: these parts are pressed directly into the frame without threads. Get the installation wrong and you crack a carbon shell or cock a bearing cup out of alignment. Get the removal wrong and you gouge the bearing seat, turning a $40 bearing swap into a $500 frame repair. This guide is for the mechanic who’s past the “I’ll just take it to the shop” stage and is ready to tool up correctly — with a clear-eyed look at which tools cover which standards, where the compatibility gaps live, and exactly how to use them without a catastrophic outcome.
| EDITOR'S PICKPark Tool Press Fit Removal Too… | Mid-tierBicycle Bottom Bracket Install… | Budget pickMimoke Bicycle Headset Press To… | |
|---|---|---|---|
| Bottom bracket fit | Internal BB | BB86/BB30/BB91/BB92 | BB73/BB86/BB30/BB91/BB92 |
| Removal tool | ✓ | ✓ | — |
| Install tool | — | ✓ | ✓ |
| Headset press | — | — | ✓ |
| Price | $62.95 | $48.99 | $21.99 |
| See on Amazon → | See on Amazon → | See on Amazon → |
Why the Standard Soup Matters Before You Buy Anything
The frustrating reality of press-fit BBs is that “press-fit” is a family of standards, not a single thing. Here’s what you actually encounter in the wild:
- BB30: 68mm wide shell, 42mm inner diameter — common on older Cannondale, early Specialized, and some Trek frames. The bearing OD is 42mm.
- PF30: Same shell width and bearing OD as BB30 but with a plastic or aluminum cup pressed into the shell first. Allows BB30 cranks in frames with a 46mm bore.
- BB86 / PF86: 86.5mm wide shell, 41mm bore — dominant on most modern Shimano-spec carbon road bikes. Often called “PressFit 86.”
- BB92: 92mm wide shell — common on full-suspension mountain bikes; same bore diameter as BB86.
- EC34: This one crosses into headset territory. EC stands for “External Cup” — a 34mm head-tube bore, press-fit cup. Found on countless steel, titanium, and alloy frames. The EC34/28.6 configuration is essentially universal on road bikes with standard-diameter head tubes.
Why does this matter at tool-buying time? Because a tool sized for BB86 cups (41mm OD) will not safely install a BB30 cup (42mm OD), and the mandrels are not interchangeable across brands without an adapter kit. Sheldon Brown’s bottom bracket standards reference remains the most complete plain-language taxonomy of these dimensions, and Park Tool’s press-fit service documentation cross-references which of their tools cover which shell — both are worth bookmarking before you spend a dollar on tooling.
The Real Cost Argument: Tool vs. Shop Quote
Before examining specific tools, run the math that dozens of verified buyers have already run.
By the Numbers
| Scenario | Typical shop charge | Tool amortization (3 installs) |
|---|---|---|
| BB86 press + removal | $60–$100 labor | ~$30–$50 per job at $90–$150 tool cost |
| EC34 headset press | $40–$75 labor | ~$20–$35 per job |
| Full PF30 service (press + remove) | $80–$120 labor | Breaks even by install 2 |
Reviewers across the major press-fit tool listings consistently cite the same tipping point: one or two shop quotes covered the tool cost entirely, and every subsequent service is nearly free. For someone maintaining two or three bikes — a road build, a gravel rig, a commuter — the economics flip decisively within a single season.
That said, the tool investment is real upfront. Budget kits with a full adapter set (covering BB30, PF30, BB86, BB92, and often EC34) run roughly $40–$90. Mid-tier tools like the Mimoke press kit occupy the $80–$130 range. Park Tool’s dedicated removal tools — like the BBT-30.3 — are purpose-built and priced accordingly at $50–$80 for the removal piece alone. Factor in that some systems require both a press tool and a separate removal tool, and the honest toolkit cost for full press-fit coverage sits closer to $120–$200 if you’re starting from zero.
Tool-by-Tool: What Owners Actually Report
Budget Full-Kit Tools (the ~$40–$90 Range)
The category of “universal press-fit kit” — typically a threaded rod with a collection of stepped aluminum mandrels — has become the standard home-mechanic entry point. Owners consistently report that these kits handle BB86, BB92, PF30, and BB30 installations competently when used carefully. The single most repeated complaint across aggregated reviews: almost no instructions are included. Several reviewers note they had to navigate entirely by product photos and YouTube searches to figure out mandrel orientation and stacking sequence. Treat this as a known gap and plan accordingly — the setup guidance in the next section is written specifically to fill it.
The other consistently flagged issue on at least one well-reviewed budget kit: no SRAM DUB adapter. DUB (Durable Unified Bearing) uses a 29mm spindle diameter, which requires a specific cup OD that doesn’t match the BB30 or BB86 adapters in most kits. If you’re building around a SRAM Rival AXS, Force AXS, or Red AXS crankset — or any current SRAM Eagle mountain drivetrain — confirm explicitly whether your kit includes the DUB-specific mandrel before purchase. A detailed four-star review of one popular budget kit (sourced from aggregated marketplace reviews, Spring 2026) calls this out by name as a critical omission for anyone spec’ing current-generation SRAM.
The Mimoke Press Kit (Mid-Tier)
Across multiple verified purchase reviews including commentary from at least one former bike shop owner, the Mimoke earns a consistent reputation as functionally solid: the fit on BB86 and EC34 cups is tight and well-controlled, the threaded rod mechanism gives good feedback through the press, and the build feels meaningfully more substantial than sub-$50 kits. The credible negative from the shop-owner perspective is worth taking seriously: the bearings inside the tool itself are unsealed. In a low-frequency home use context — pressing a handful of BBs per year — this is unlikely to matter. For a small-shop mechanic doing 30–50 press-fit services annually, the tool’s own bearings may degrade noticeably within two seasons. That’s not a flaw that disqualifies it for home use, but it’s the kind of durability nuance that separates occasional DIY from professional-grade work.
Park Tool Removal Tools (BBT-30.3 and Similar)
Park Tool’s press-fit removal tools are single-purpose: they remove, they don’t install. The BBT-30.3 is designed specifically for BB30 and PF30 shells. Reviewers working on Trek mountain bike frames — particularly the Remedy platform with its PF41/GXP shell configuration — note that the Park tool handles that application cleanly with the correct adapter, but you need to verify the adapter is included or ordered separately. Per Park Tool’s own service documentation, removal requires driving the bearing cup from the non-drive side while supporting the shell, and the correct mandrel must engage the inner race of the cup, not the cup’s outer edge, to avoid collapsing the shell bore. If you already have a press tool and are adding removal capability, the Park removal tool is the benchmark. If you’re buying from zero, a kit that combines both functions is more economical.
Step-by-Step: Pressing BB86 Bearings Without Cracking a Carbon Shell
This is the repair most likely to go wrong in a home setting. Here’s the procedure that aggregates correctly across Park Tool’s service documentation and BikeRadar’s press-fit guidance:
- Clean and inspect the shell before touching a tool. Any visible cracking, delamination, or rough texture inside the bore means stop and consult a frame builder or the manufacturer.
- Select the correct mandrels: for BB86, you want the stepped mandrel that matches 41mm OD. The mandrel shoulder should register against the outer face of the cup, not the bearing race.
- Apply a thin film of carbon assembly paste (not grease) to the cup OD if the frame is carbon. This prevents micro-slipping and eliminates creaking — it does not lubricate the press.
- Start both cups by hand before applying any mechanical force. If either cup won’t start straight by hand, stop. Cocked cups pressed under force are the primary cause of shell damage.
- Press slowly, alternating sides if your tool allows simultaneous dual-cup pressing. If you’re pressing one cup at a time, press the drive side first to final depth, then the non-drive side.
- Stop the moment resistance spikes: a correctly seated cup bottoms out with a firm but not violent stop. If you feel the force climb dramatically and the cup hasn’t fully seated, something is wrong — don’t force it.
- Check cup flush: both faces should sit flush or fractionally below the shell face. Any visible tilt means the cup needs to be removed and restarted.
Frequently Asked Questions
Does the Mimoke press tool work for EC34 headset cups as well as bottom bracket standards?
Yes — based on published specs and owner reports, the Mimoke kit includes mandrels sized for EC34 (34mm bore) headset cups. The same threaded-rod press mechanism handles both applications; you’re simply swapping to the appropriate mandrel. Confirm your specific kit version includes the EC34 adapter, as bundle configurations have varied.
What is the correct procedure for pressing in BB86 bearings without cracking a carbon shell?
The full procedure is in the section above, but the two non-negotiables are: (1) start cups by hand and confirm they’re square before applying any mechanical force, and (2) use carbon assembly paste on the cup OD, not grease. Park Tool’s press-fit service documentation covers the technical detail; the step-by-step above synthesizes that guidance for home use.
Which press-fit BB tools include a SRAM DUB (29mm ID) adapter, and which don’t?
This is a genuinely inconsistent landscape as of mid-2026. The DUB standard requires a cup with a specific OD that doesn’t map to BB30 or BB86 adapters. At least one widely reviewed budget kit explicitly lacks a DUB mandrel — a point raised prominently in verified purchase reviews. Before buying any kit for a SRAM DUB application, verify the DUB adapter is listed in the kit contents, not just implied by “universal compatibility” marketing language.
Can I use a press-fit removal tool to also install bearings, or do I need two separate tools?
In most cases, you need two separate tools. Removal tools — like the Park Tool BBT-30.3 — are designed to drive the cup out from the back side and are not configured to apply even, controlled force across the cup face for installation. Using a removal tool to press in can cock the cup or damage the shell bore. Some budget combo kits include both functions in a single rod with different mandrel configurations; verify this explicitly rather than assuming.
How do I know if my press-fit BB shell is damaged after a bad bearing removal?
The signs to look for: visible scoring or gouging of the bore surface, out-of-round bore geometry (a new cup won’t start square by hand), cracking or delamination in the layup around the shell (carbon only), and any visible step or ledge where the original cup OD contacted the shell. A bore gauge or even a careful visual inspection with a flashlight can reveal scoring. If the bore diameter is oversize — meaning a new cup seats with almost no resistance and wobbles slightly — the shell is compromised and a Loctite retaining compound is at best a temporary fix. Consult a frame builder before riding the bike.
If X, Then Y: The Decision Rule
If you’re maintaining one or two bikes on modern Shimano-spec frames (BB86/BB92) and running Shimano or Campagnolo cranks, a quality budget kit covering BB86 and EC34 will handle 90% of what you encounter, and the economics justify the purchase after a single service.
If you’re building or servicing SRAM DUB drivetrains, verify DUB adapter inclusion before any purchase — this is a non-negotiable compatibility check, not an afterthought.
If you’re doing press-fit service on five or more bikes per year, the Mimoke or a comparable mid-tier tool is worth the step up in build quality, with the caveat that its unsealed internal bearings are a long-term wear point under heavy use.
If your frame is carbon and you haven’t done a press-fit install before, buy the tool, read the Park Tool documentation, and do a dry run without paste before committing. The cost of a cracked shell dwarfs the cost of patience.