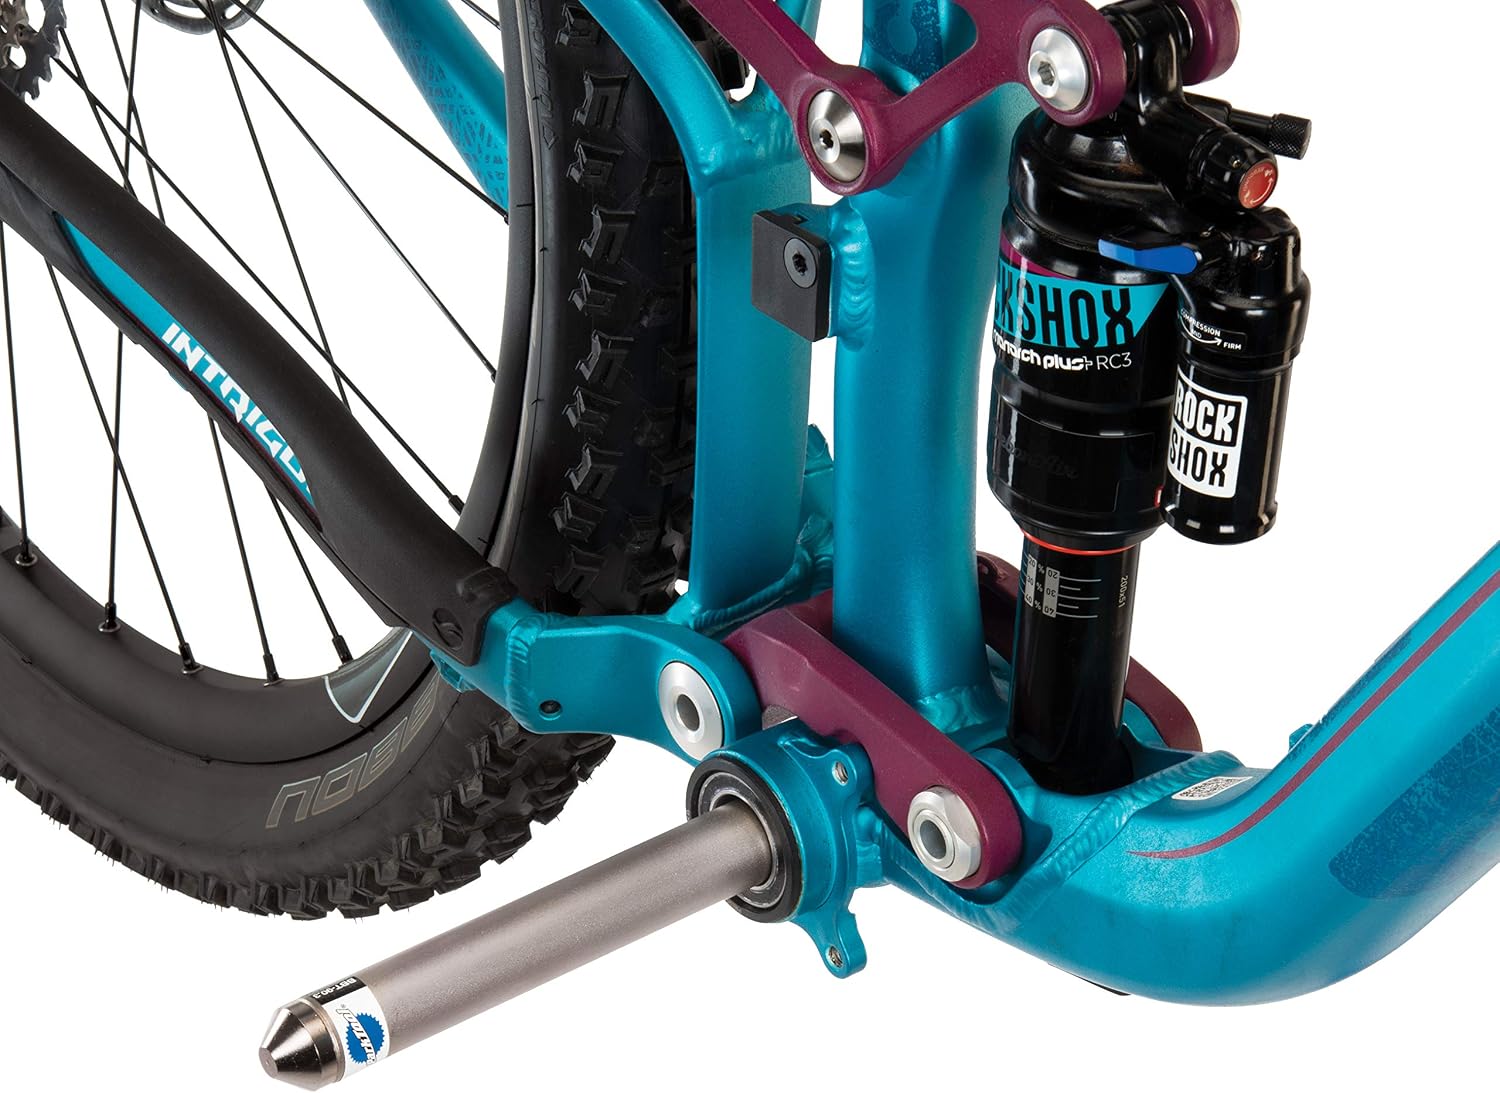
Your bottom bracket is the axle-and-bearing assembly at the heart of the bike’s frame — it’s what your pedals and cranks rotate around. In older bikes, this assembly threaded into the frame with a simple wrench. Modern road and gravel frames — especially those made from carbon fiber — often use a system called press-fit, where the bearing cups are literally pressed into bare holes in the frame rather than threaded in. That interference fit sounds robust, but it creates a serious risk: if you press those cups in unevenly, at an angle, or with the wrong tool, you can permanently deform or crack the bearing seat. On a carbon frame worth $2,000–$5,000, that’s a catastrophic outcome. This guide explains why the improvised hammer-and-socket approach fails, which tools are actually worth buying, and how to match the right tool to your specific bottom bracket standard before you ever touch the frame.
| EDITOR'S PICK[Park Tool Press Fit Removal Too…](https://www.amazon.com/dp/B000C12BMW?tag=greenflower20-20) | Mid-tier[Bicycle Bottom Bracket Install…](https://www.amazon.com/dp/B0D98S4H2B?tag=greenflower20-20) | Budget pick[Mimoke Bicycle Headset Press To…](https://www.amazon.com/dp/B09Y5HBYS4?tag=greenflower20-20) | |
|---|---|---|---|
| Compatible BB Standards | Internal bearings | BB86/BB30/BB91/BB92 | BB73 BB86 BB30 BB91 BB92 PF30 |
| Tool Type | Removal tool only | Install & removal kit | Press tool only |
| Removal Ability | ✓ | ✓ | ✗ |
| Install Ability | — | ✓ | ✓ |
| Price | $62.95 | $48.99 | $21.99 |
| See on Amazon → | See on Amazon → | See on Amazon → |
Why Press-Fit Standards Are a Mess (and Why That Affects Your Tool Choice)
Before you buy any tool, you need to know exactly which press-fit standard your frame uses. This is not trivial — as VeloNews’s bottom bracket standards guide notes, there are at least seven distinct press-fit formats in common use, and they differ in shell width, cup outer diameter, and bearing bore. The main ones you’ll encounter:
- PF30 / BB30 — 46mm outer diameter cups, 68mm or 73mm shell width. Common on older Cannondale, Specialized, and Trek frames.
- PF86 / BB86 — 41mm OD cups, 86.5mm shell width. Shimano’s preferred format; the Shimano technical document for the SM-BBR60 and SM-BB72-41B specifies this shell width to within 0.1mm tolerance.
- PF92 / BB92 — 41mm OD cups, 92mm shell. Common on mountain bike frames.
- PF30A — asymmetric variant, 68mm drive side / 73mm non-drive side. Found on some Specialized frames.
- T47 — threaded shell with press-fit-sized cups; technically a hybrid but often treated as press-fit in tool selection.
Why this matters for tooling: A press tool sized for PF30 (46mm OD) will not center correctly in a BB86 shell (41mm OD). Run the wrong tool and you load the cup asymmetrically — one edge contacts before the other — and the cup rocks in on a slight angle. Sheldon Brown’s bottom bracket reference describes this exact failure mode as the primary source of creaking and premature bearing failure in press-fit installations.
The Park Tool Company’s BB-series technical documentation takes this a step further: they specify that the installer’s tool face must contact 100% of the cup flange circumference simultaneously, and that even a 1–2° installation angle can produce a bearing preload that exceeds the design spec within a few hundred kilometers of riding.
The Real Cost of Getting This Wrong
Let’s be direct about what’s at stake, because the internet is full of forum threads suggesting a wooden dowel and a mallet are “good enough.”
By the numbers:
| Scenario | Risk | Typical Cost |
|---|---|---|
| Correct press tool on alloy frame | Minimal | Tool: $80–$220 |
| Hammer + socket on carbon frame | Shell delamination, cracked seat | Frame replacement: $1,500–$6,000+ |
| Mismatched tool on any frame | Cocked bearing, noise, creaking | Repeated BB replacements + labor |
| Correct tool on carbon frame | Near-zero damage risk | Tool amortized over years of use |
BikeRadar’s press-fit bottom bracket problems explainer documents a pattern that shop mechanics recognize immediately: carbon frames with damaged bearing seats that produce creak regardless of how many times the BB is replaced. The damage is done at installation, but the symptom only appears under load. By the time the creak shows up, the frame may already be compromised.
The cost-per-use math on a quality press tool is straightforward. A dedicated tool like the Park Tool BBT-90.3 or BBT-79.3 sits in the $80–$160 range. If you’re maintaining two or three high-end bikes — or running a small coaching stable — that tool pays for itself on the first carbon frame you don’t damage.
The Tools That Actually Work: A Tiered Decision Frame
Tier 1 — Dedicated Single-Standard Tools ($40–$100)
If you own one frame with one BB standard and plan to service it a handful of times over the life of the bike, a dedicated single-standard tool is sufficient and cost-efficient.
Park Tool BBT-90.3 targets BB86/PF86/BB92 installations. The Park Tool documentation confirms it covers the 41mm OD cup format with a fully-faced installation surface. Owners in long-run forum reviews consistently report that the dual-sided threaded-rod design pulls cups in parallel rather than pressing from one side, which is a meaningful mechanical advantage over hammer-and-drift approaches.
Park Tool BBT-79.3 is the PF30/BB30 equivalent, sized for 46mm OD cups. The same threaded-rod pull mechanism applies.
The limitation here is obvious: buy the wrong size for your standard and the tool is useless. Verify your shell diameter and width against the Shimano technical documents or your frame manufacturer’s spec sheet before ordering.
Tier 2 — Multi-Standard Tools ($80–$220)
For anyone maintaining bikes across multiple BB standards — or a shop mechanic handling a mix of brands — a multi-head system makes far more sense economically.
Wheels Manufacturing Bottom Bracket Press is the most-referenced tool at this tier across aggregated workshop reviews. The base kit covers PF30, BB86, and BB92 with interchangeable faces, and additional adapters extend compatibility to PressFit 30A and other variants. The tool uses a threaded central rod; you position a face on each side of the shell, thread the rod through, and turn a wrench to draw the cups in simultaneously and concentrically. There is no impact force, no angle drift, and no guesswork about whether one side is ahead of the other.
At roughly $160–$220 depending on which adapter set you include, the Wheels Manufacturing tool is the standard recommendation for the high-investment home mechanic or small-shop builder. Reviews consistently note the quality of the machined aluminum faces and the durability of the central rod threading over many cycles.
Enduro Bearings press tools cover similar ground at a comparable price and are frequently mentioned alongside the Wheels Manufacturing option in workshop equipment threads on cyclingnews.com’s reader forums.
Tier 3 — Professional Bench Tools ($350–$600+)
If you’re running a boutique shop, a coaching program with a full fleet, or building custom steel frames where frame alignment is already premium work, bench-mounted pressing systems from VAR Tools and Feedback Sports (along with the upper end of the Park Tool catalog) enter the picture.
These tools use guided pillars or milled steel frames to guarantee axial alignment independent of user technique — the press can only travel in one direction. For carbon frame builders, this is the appropriate tier. The investment is significant, but the failure mode of a cocked press is essentially eliminated.
Removal: The Other Half of the Problem
Installation gets most of the attention, but removal done wrong causes the same category of damage. Press-fit cups need to be knocked out from the opposite side — and if you’re using a screwdriver and hammer against the back of the bearing, you’re applying point loads against a race seat designed for distributed contact.
The Park Tool BBT-30.4 and the equivalent Wheels Manufacturing removal adapters use a flanged drift that contacts the cup flange — not the bearing itself — and distributes the removal force over the full cup circumference. The difference in feel is significant: a correctly-loaded cup moves out cleanly in one or two firm strokes; a point-loaded cup can shear the bearing race or gall the shell.
One practical note: Shimano’s technical documents for press-fit BBs specify applying a thin layer of waterproof grease or anti-seize compound to the cup OD and the frame shell before installation. This does two things — it reduces the press-in force required (lowering the risk of overloading) and it makes future removal dramatically easier. On a carbon frame, lower installation force is always preferable.
Decision Rules: If X, Then Y
This is the section to bookmark before you buy anything.
If you have one carbon road or gravel frame with BB86/PF86: Buy the Park Tool BBT-90.3 for installation and the BBT-30.4 family for removal. Add the Shimano-specified grease step on every install. Total outlay: ~$120–$160. Do not improvise.
If you have one frame with PF30/BB30: Park Tool BBT-79.3 plus the corresponding removal tool. Same logic applies.
If you maintain two or more bikes across different BB standards, or you’re a coach with a fleet: The Wheels Manufacturing multi-standard press kit is the right call. The per-job cost amortizes quickly, and the single-tool workflow reduces the chance of grabbing the wrong head.
If you’re running a small shop or building custom frames: Step up to the VAR or bench-mounted Park Tool tier. The alignment guarantee matters more than the price difference when you’re responsible for other people’s frames.
If your frame uses T47 (increasingly common on gravel bikes from 3T, Open, and others): T47 is threaded and should be installed with a torque wrench to the manufacturer’s specification — it does not require a press tool. Verify your standard before buying anything.
If you’re tempted by the hammer-and-socket approach: The math doesn’t work. A single damaged carbon frame shell costs more than a lifetime supply of quality press tools. The forum wisdom that “it’s worked fine for me” survives because frame damage from a cocked installation often takes 500–1,500km of riding to manifest as an audible problem — by which point the connection to the original installation is lost.
A Note on Creaking
Press-fit bottom brackets have a reputation for creaking that threaded BBs do not. This is worth acknowledging honestly: even a perfectly installed press-fit BB in a correctly-dimensioned shell can develop creak over time due to micro-movement under pedaling load. This is a design characteristic, not a tool failure. However, as BikeRadar’s press-fit explainer notes, the majority of persistent creak cases that mechanics encounter trace back to installation issues — wrong BB for the shell, damage during installation, or insufficient surface preparation. Getting the tool right eliminates the largest variable. What remains is manageable with proper greasing, anti-creak compounds (Loctite 641 retaining compound is commonly specified for alloy frames), and periodic inspection.
The bottom bracket sits at the highest load-transfer point on the bike. Treating its installation with the same precision you’d apply to a headset or suspension linkage isn’t overcaution — it’s the appropriate level of respect for a component that affects every pedal stroke.